Product Overview
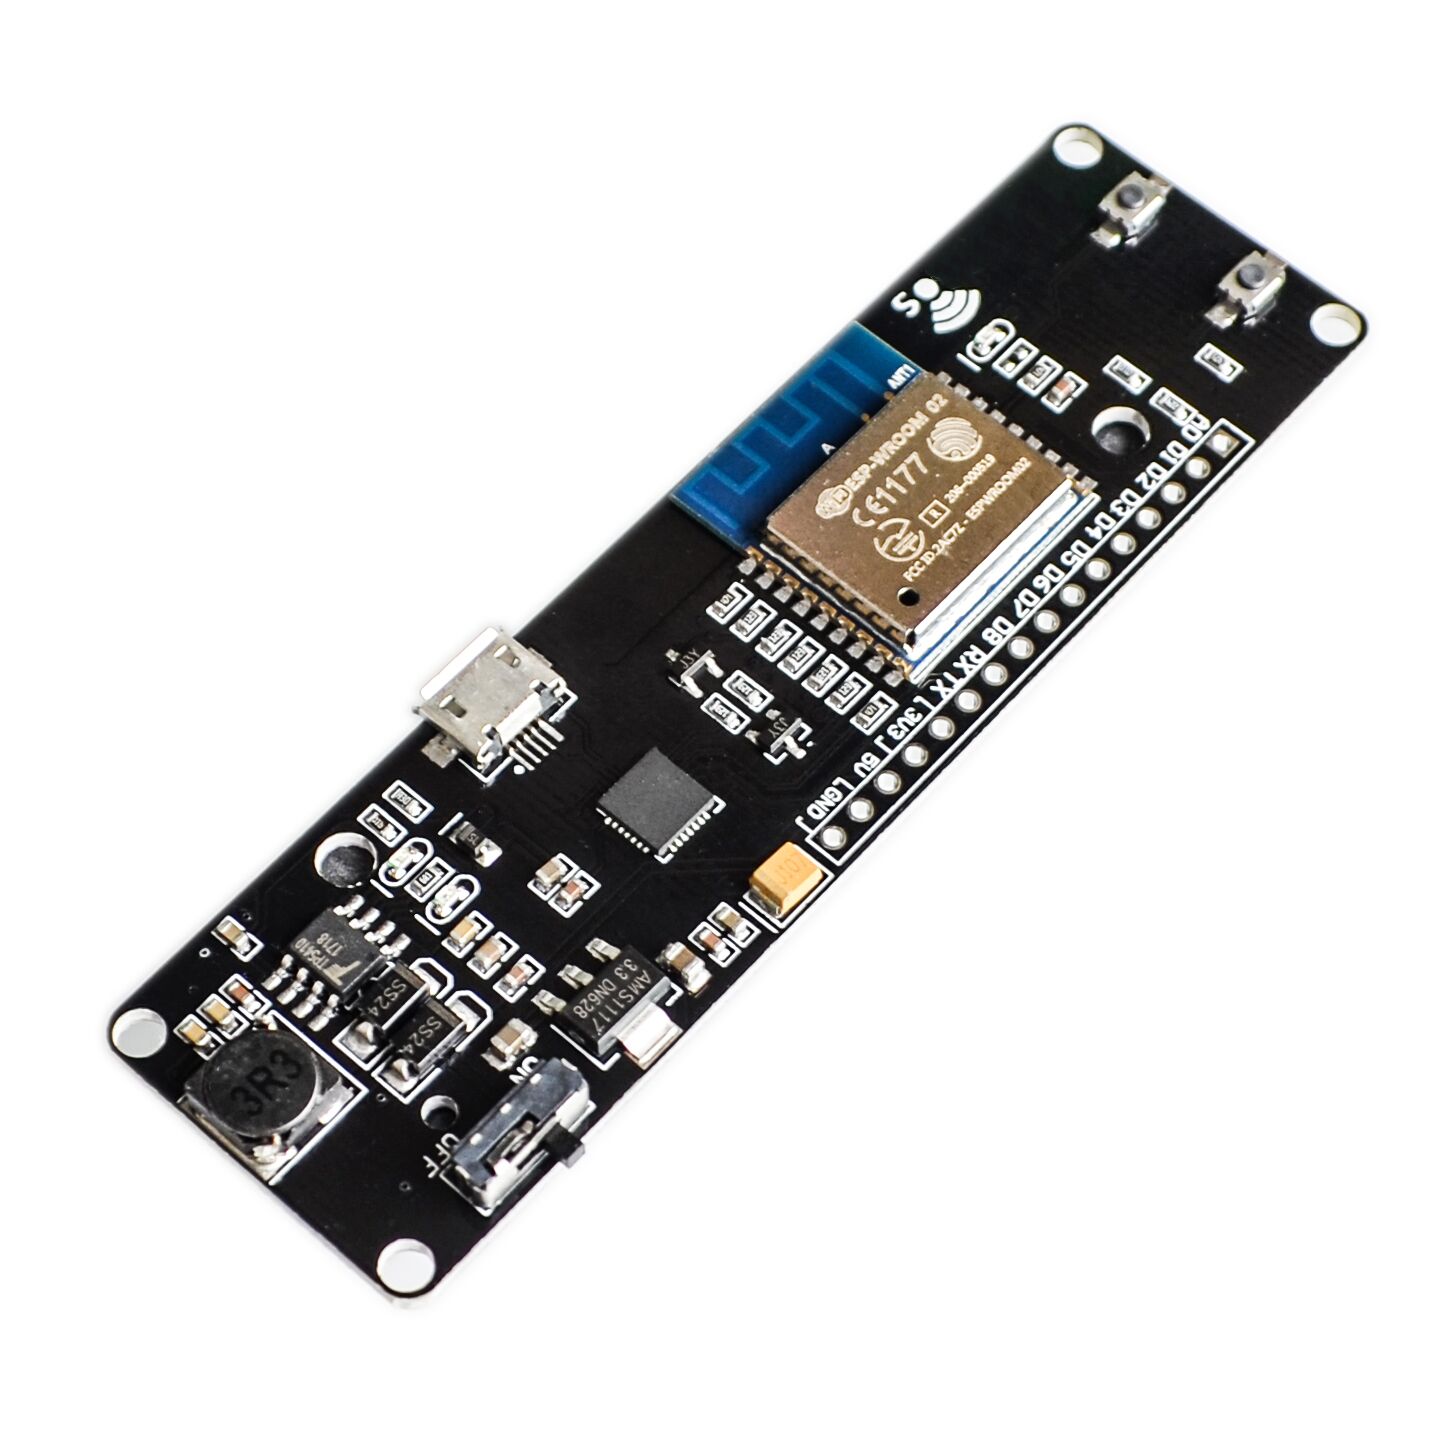
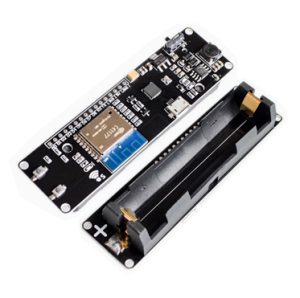
The PowerNode WiFi Kit is a complete, self-contained IoT development platform that combines the popular ESP8266 WiFi module with an integrated 18650 lithium-ion battery holder and charging circuit. This all-in-one solution eliminates the need for external power supplies or complex wiring, allowing you to build truly portable, battery-powered IoT devices with ease .
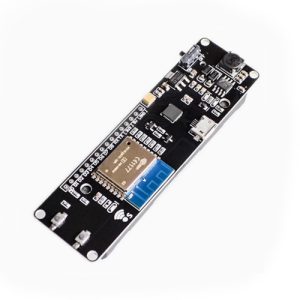
At the heart of this kit is the powerful ESP8266EX chip—a 32-bit microcontroller with integrated Wi-Fi (802.11 b/g/n), a full TCP/IP stack, and ample processing power for most IoT applications . The module comes pre-flashed with user-friendly firmware (such as NodeMCU or AT command set), making it accessible for beginners while remaining powerful enough for advanced users .
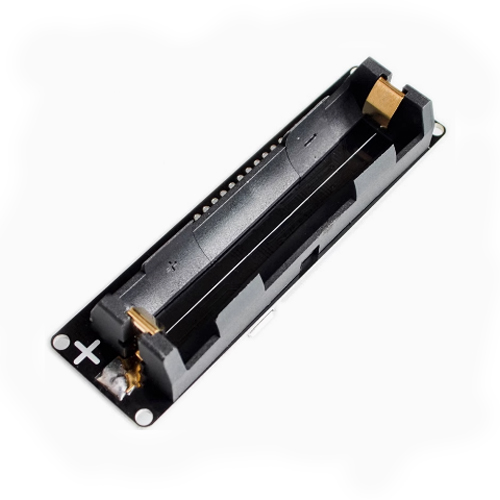
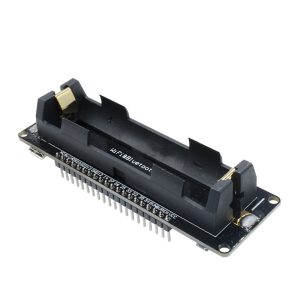
The integrated 18650 battery holder allows you to power your projects with a single rechargeable lithium-ion cell—the same type used in many laptops, flashlights, and power banks. The onboard charging circuit (via microUSB) lets you recharge the battery without removing it, while the built-in power switch prevents parasitic drain when the system is idle . This makes the PowerNode WiFi Kit the ideal choice for remote sensors, portable data loggers, wireless control systems, and any project that needs to operate away from a wall outlet.
Whether you’re building a wireless weather station, a battery-powered security camera, a remote soil moisture sensor, or a smart home controller, the PowerNode WiFi Kit provides a compact, ready-to-use platform that gets your project up and running quickly.
Key Features
-
All-in-One IoT Platform: Combines an ESP8266 WiFi module, 18650 battery holder, charging circuit, and voltage regulation into a single, compact board.
-
Integrated 18650 Battery Support: Designed to work with a single 18650 lithium-ion battery (not included), providing a high-capacity, rechargeable power source for portable projects.
-
Onboard Battery Charging: Features a microUSB port for charging the 18650 battery directly on the board. Charging status is indicated by an onboard LED.
-
Efficient Power Management: Includes a dedicated power switch to completely disconnect the battery, preventing parasitic drain when the system is not in use. A voltage regulator ensures stable 3.3V output for the ESP8266 and any connected peripherals.
-
ESP8266-Based WiFi Connectivity: Powered by the widely-supported ESP8266EX chip, providing 802.11 b/g/n Wi-Fi with a full TCP/IP stack. Perfect for connecting to home networks, cloud services (AWS IoT, Blynk, ThingSpeak), or creating your own access point.
-
Versatile Firmware Options: Ships with AT command firmware, NodeMCU (Lua), or can be easily re-flashed with MicroPython, Arduino (via Arduino IDE), or custom firmware using the ESP8266 SDK.
-
Easy Programming: Features a USB-to-serial interface (CH340 or CP2102) for direct programming via microUSB. No additional programmers or adapters are required.
-
Multiple I/O Interfaces: Exposes digital I/O pins, ADC input, UART, SPI, and I2C interfaces, allowing connection to a wide variety of sensors, relays, displays, and actuators.
-
Low Power Consumption: Supports deep sleep modes, enabling battery-powered operation for months or even years in low-duty-cycle applications.
-
Compact and Ready-to-Use: The board is designed to be used standalone or mounted in an enclosure. All components are pre-soldered—no soldering required to get started.
Technical Specifications
Pinout & Interface Guide
Power & Battery
-
Battery Holder: Accepts one 18650 lithium-ion cell. Insert with correct polarity (+ and – as marked).
-
microUSB Port: For charging the battery and programming the ESP8266.
-
Power Switch (K1): Toggle to disconnect the battery when not in use.
ESP8266 I/O
The board typically exposes the following pins for connecting sensors and peripherals:
-
GPIO0, GPIO2, GPIO4, GPIO5, GPIO12, GPIO13, GPIO14, GPIO15, GPIO16 – Digital I/O (PWM capable)
-
ADC (A0) – 10-bit analog input (0-1V max)
-
3.3V – Regulated output for powering external peripherals (up to ~300mA)
-
GND – Ground connections
-
TX / RX – Serial communication (UART)
Usage Guide
Getting Started
-
Insert the Battery: Insert a charged 18650 battery into the holder, observing correct polarity (+ and -). Never insert the battery backward—this can damage the charging circuit.
-
Connect to USB: Plug a microUSB cable into the board and connect to your computer or a 5V USB power adapter (≥1A). This will power the board and charge the battery simultaneously.
-
Power On: Toggle the power switch to the ON position. The board’s power LED should illuminate.
-
Install Drivers (if needed): If using a CH340-based board, install the CH340 USB-to-serial driver . CP2102 boards typically have built-in drivers.
-
Choose Your Development Environment:
-
Arduino IDE: Install the ESP8266 board package and select the appropriate board (e.g., “NodeMCU 1.0” or “Generic ESP8266 Module”).
-
ESPlorer (NodeMCU/Lua): Use the ESPlorer IDE for Lua-based development.
-
AT Commands: Use a serial terminal (like PuTTY or Arduino Serial Monitor) to send AT commands directly.
Example: Battery-Powered Wi-Fi Sensor
#include <ESP8266WiFi.h>
const char* ssid = "your_SSID";
const char* password = "your_PASSWORD";
void setup() {
Serial.begin(115200);
WiFi.begin(ssid, password);
while (WiFi.status() != WL_CONNECTED) {
delay(500);
}
int sensorValue = analogRead(A0);
Serial.println("Sensor Value: " + String(sensorValue));
}
void loop() {
}
Power Saving Tips
-
Use deep sleep mode (ESP.deepSleep()) to achieve power consumption as low as 20µA . This allows months of operation on a single 18650 battery.
-
Consider light sleep mode for applications that need to maintain Wi-Fi connectivity while saving power .
-
Use the power switch to completely disconnect the battery when storing the device.
Q: What type of battery does the PowerNode WiFi Kit use?
It uses a single 18650 lithium-ion battery (not included). These are widely available in capacities from 1500mAh to 3500mAh.
Q: Can I use the board without a battery?
Yes. You can power the board directly via microUSB without a battery installed.
Q: What is the typical battery life?
Battery life depends entirely on your code and usage:
-
Deep sleep mode: 20µA → months to years on a single charge
-
Active mode (Wi-Fi on): 80-170mA → ~10-40 hours on a 2000mAh battery
-
Mixed usage: A sensor waking every few minutes can last weeks to months
Q: Does the board support charging while in use?
Yes. The board supports pass-through charging—you can use it while the battery is charging via microUSB.
Q: What firmware options are available?
The ESP8266 can run:
-
AT Command Firmware: Control the module via serial commands from another microcontroller
-
NodeMCU (Lua): Lua-based scripting for rapid development
-
MicroPython: Python-based development
-
Arduino/C++: Using the Arduino IDE
-
ESP8266 SDK: Full control for advanced users
Q: What happens if I insert the battery backward?
The board has no reverse polarity protection. Inserting the battery backward can permanently damage the charging circuit. Always verify polarity before inserting.
Q: What size charger should I use?
A 5V USB charger rated at ≥1A is recommended for reliable charging. Lower current chargers may still work but will charge more slowly.
Q: How do I know when the battery is fully charged?
The onboard charging LED typically indicates:
Q: Can I use unprotected 18650 batteries?
Yes, but with caution. Unprotected batteries work, but you should monitor voltage to avoid over-discharge. Protected batteries offer additional safety and are recommended for beginners.
Q: Why does my ESP8266 reset when Wi-Fi turns on?
This indicates insufficient battery current. Wi-Fi transmission causes current spikes (up to 300mA). Solutions include:
-
Use a higher-quality 18650 battery with better discharge capability
-
Add a large capacitor (470-1000µF) across the power rails
-
Ensure the battery is fully charged
Q: How do I program the PowerNode WiFi Kit?
Connect the board via microUSB, install the appropriate drivers (CH340 or CP2102), and use your preferred development environment (Arduino IDE, ESPlorer, or a serial terminal).
Q: Do I need an external programmer?
No. The built-in USB-to-serial chip handles programming directly via USB.
Q: What baud rate should I use for AT commands?
The default baud rate is typically 115200 bps. Some firmware versions may use 9600 or 74880 for boot messages
Q: Can I use the PowerNode with Arduino IDE?
Yes. Install the ESP8266 board package via Boards Manager and select “NodeMCU 1.0 (ESP-12E Module)” or “Generic ESP8266 Module” as the board.
Q: What can I build with the PowerNode WiFi Kit?
Popular projects include:
-
Remote weather stations with temperature/humidity sensors
-
Battery-powered security cameras (with motion sensors)
-
Wireless soil moisture monitors for gardens
-
Smart home sensors (door/window, motion, leak detection)
-
Portable data loggers for field research
-
Remote-controlled switches for irrigation or lighting
Q: Is the PowerNode suitable for outdoor use?
With proper weatherproofing (such as a sealed enclosure), the board can be used outdoors. The ESP8266’s operating temperature range (-20°C to +85°C) supports most outdoor conditions.
Q: Can I connect sensors directly to the board?
Yes. The board exposes digital I/O pins and an analog input (ADC) for connecting sensors. Many common sensors (DHT22, DS18B20, HC-SR04) work directly with the 3.3V logic.