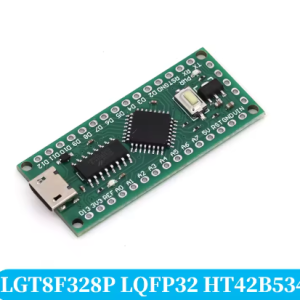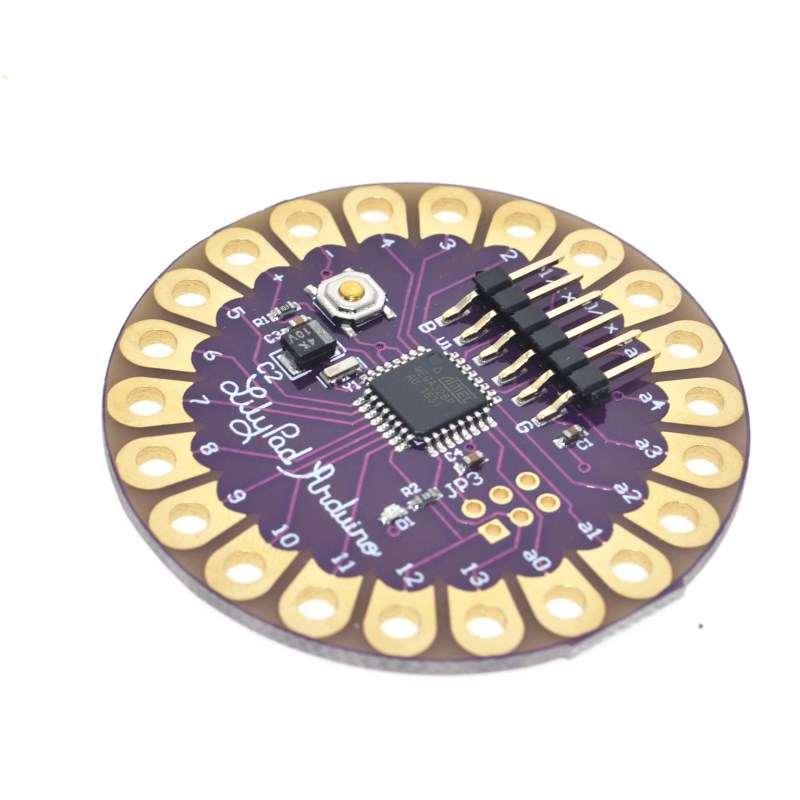


LilyPad Programmable Microcontroller Board – ATmega328P Chip with Micro USB 16M
The LilyPad is an innovative microcontroller board specifically designed for integration into e-textiles and wearable projects. It offers the full functionality of a standard Arduino board within a unique, lightweight, and circular package that minimizes snagging and profile when sewn into fabric.
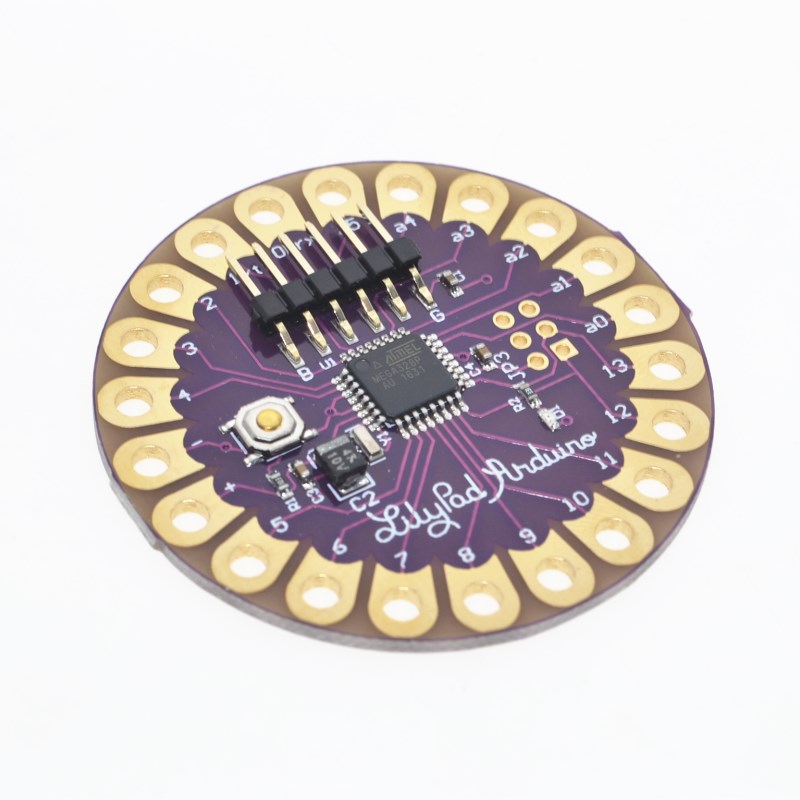
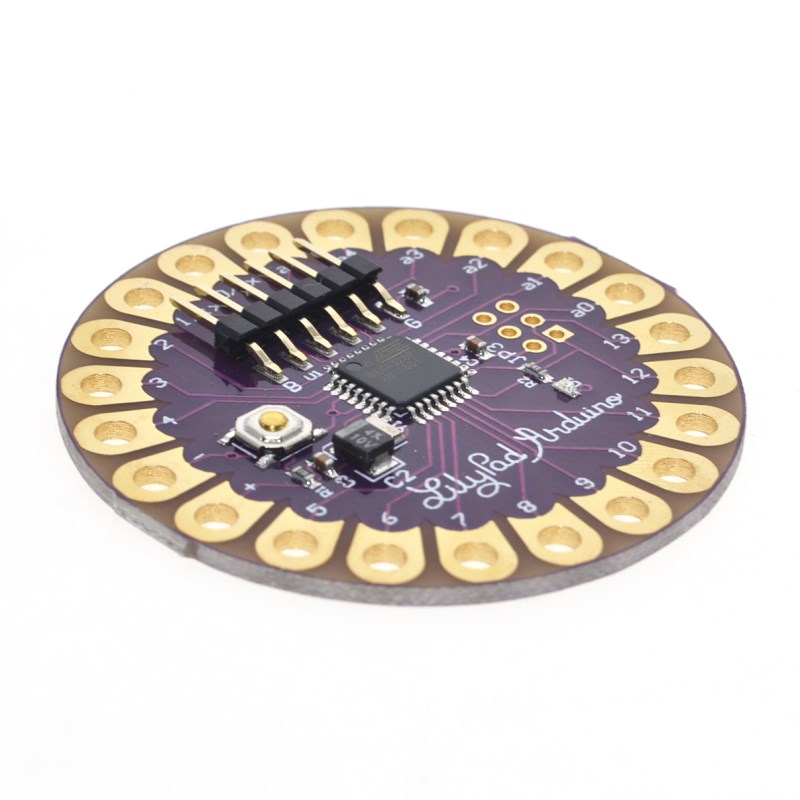
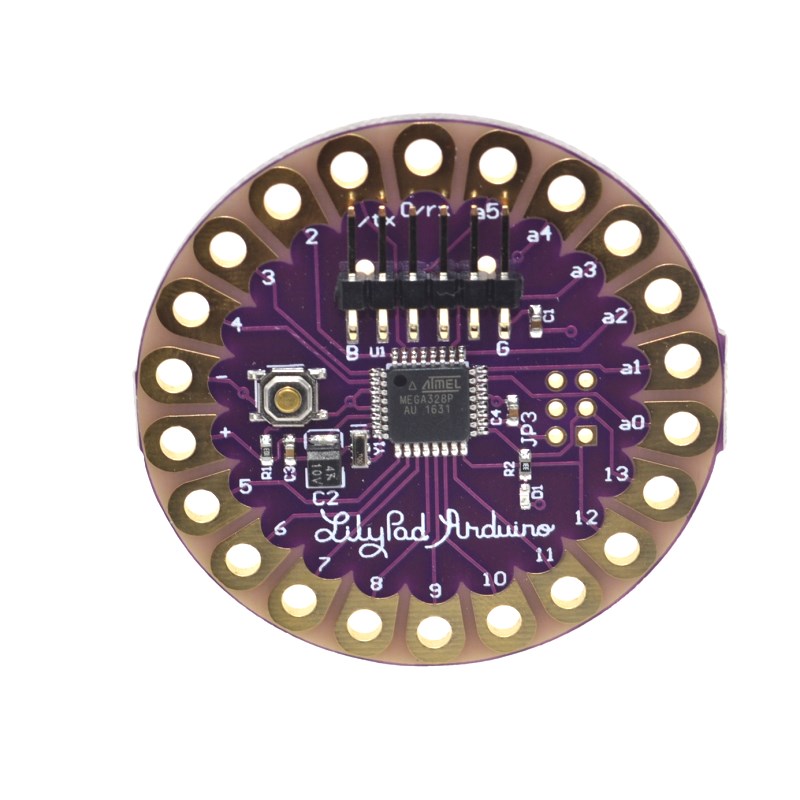
This board is based on the ATmega328P chip and operates at a versatile voltage range, making it ideal for battery-powered applications. It features a micro USB connection for easy programming and power, and large connection pads (sew tabs) that allow components to be connected using conductive thread rather than traditional wires. It’s an excellent platform for fashion designers, artists, and engineers looking to blend technology seamlessly into clothing and accessories.
Description
The LilyPad Programmable Microcontroller Board is a groundbreaking piece of technology that brings embedded electronics into the world of fabric and fashion. Developed by Leah Buechley in collaboration with SparkFun, the entire system is built around the unique challenge of creating washable, sewable, and low-profile electronic circuits.
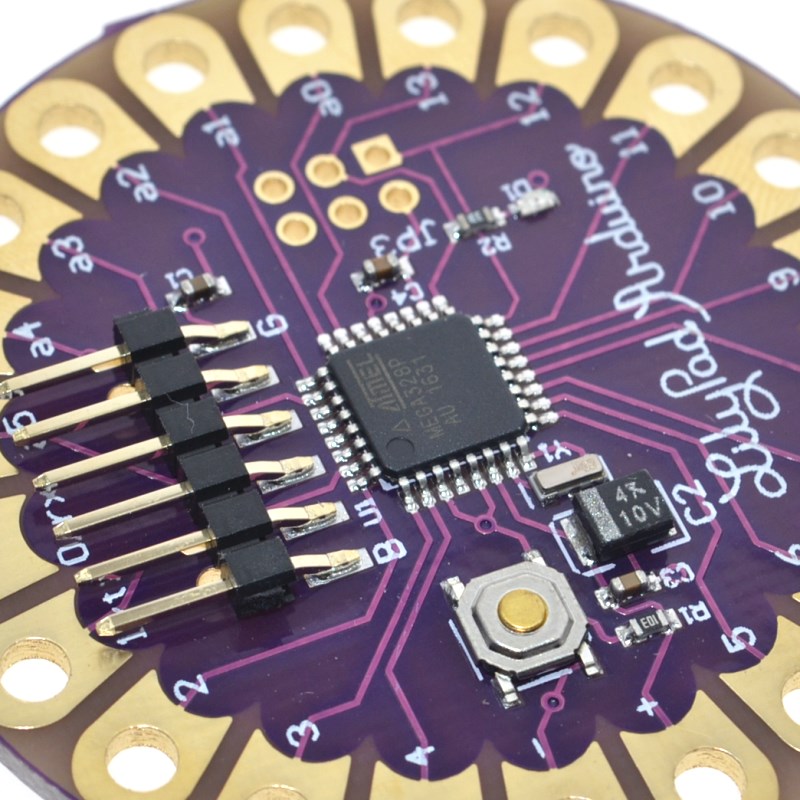
At its core is the powerful yet efficient ATmega328P microcontroller, pre-loaded with the Arduino bootloader, ensuring seamless compatibility with the standard Arduino IDE software. The most distinctive feature is the replacement of traditional header pins with large, flat “sew tabs” around the perimeter. These tabs are designed to be connected using conductive thread, allowing the circuit to become part of the textile structure itself.
The board runs on a low operating voltage of 2.7V to 5.5V, making it perfectly suited for small, single-cell Lithium Polymer (LiPo) batteries or coin cell power supplies. A major convenience of this version is the inclusion of a micro USB port for direct programming from a computer, which on some specific versions (like the LilyPad USB ATmega32u4, a related product) also allows for on-board LiPo battery charging if a JST connector is present.
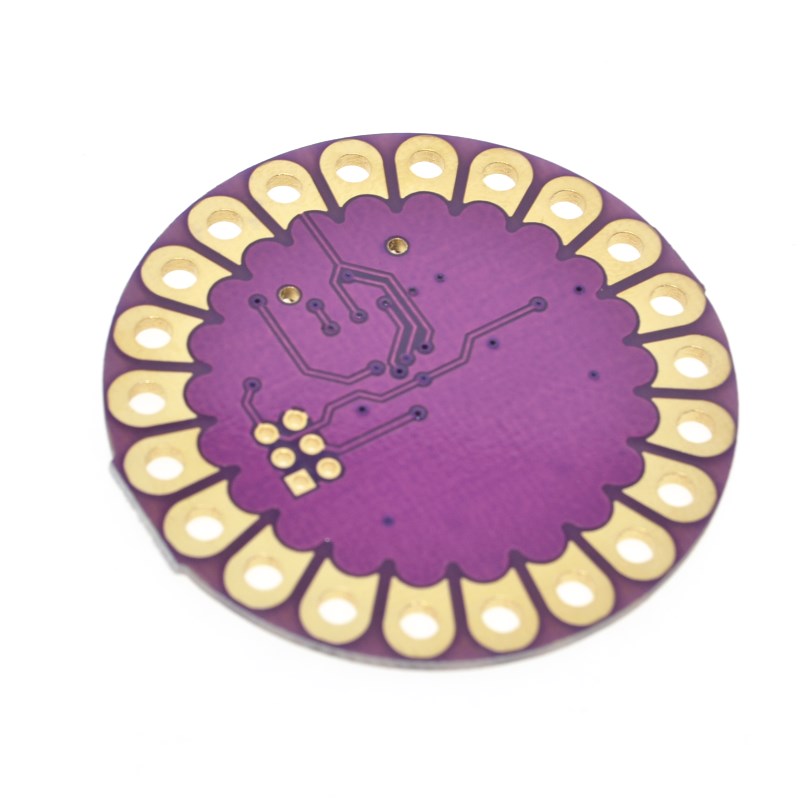
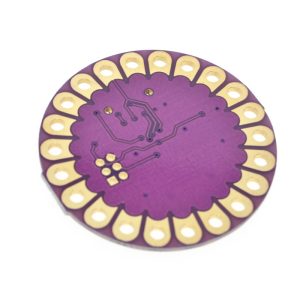
With a flat back design to prevent poking through fabric, and a robust construction that is even hand-washable (with the battery removed), the LilyPad opens up endless possibilities for creative and integrated technology projects.
Features
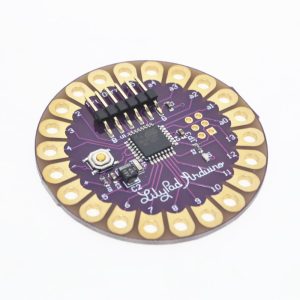
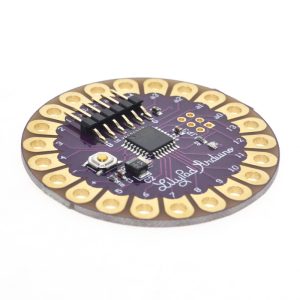
- Wearable Form Factor: Unique lightweight, round design with a flat back minimizes snagging and optimizes profile for integration into fabric.
- Sewable Connections: Large, wide “sew tabs” replace pins, designed for connection using conductive thread.
- Microcontroller: Utilizes the ATmega328P chip, compatible with Arduino programming.
- Micro USB Port: For easy programming and power connection directly from a computer.
- Wide Operating Voltage: Flexible power input range of 2.7V to 5.5V, suitable for various battery types.
- Washable: Projects built with the LilyPad are hand-washable (battery must be removed).
- Pin Indicators: Includes a built-in LED on digital pin 13 for debugging and status indication.
- Automatic Reset Support: Simplifies the programming process within the Arduino IDE.