The term “ESP32 DevKitC Base Plate” refers to the core printed circuit board (PCB) design used as the foundation for the standard Espressif Systems ESP32-DevKitC development board series. It is not a separate product you attach to a DevKitC, but rather the essential hardware structure that houses the ESP32 module, USB interface, power management, and breakout pins.
This base plate provides all the necessary support circuitry (USB-UART bridge, buttons, LDO regulator, etc.) that turns a bare ESP32 module (like WROOM or WROVER) into an easy-to-use, breadboard-friendly development board.
Product Description
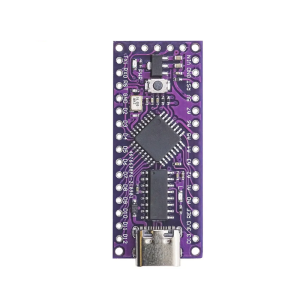
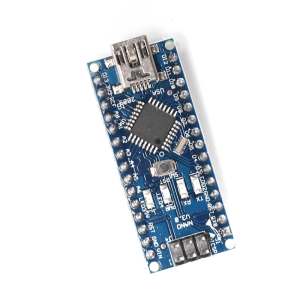
The ESP32-DevKitC Base Plate (PCB Assembly) is the robust, low-footprint circuit board serving as the standard platform for ESP32 prototyping. It is designed to host a variety of ESP32 modules (WROOM-32, WROOM-32D, WROOM-32U, or WROVER series), providing an integrated, hassle-free environment for developing Wi-Fi and Bluetooth applications.
This board is engineered for versatility, breaking out most of the module’s I/O pins to breadboard-compatible headers on both sides. It incorporates essential support components, including a USB-to-UART bridge chip (commonly CP2102 or CH9102X, specific to the final assembly), a Micro USB port for power and communication, and reset/boot buttons for easy operation and firmware flashing. The design ensures excellent RF performance and power management without requiring complex external circuitry, allowing developers to focus immediately on application design and development.
Key Features
- Module Compatibility: Designed to accept various ESP32-WROOM and ESP32-WROVER modules, offering flexibility in choosing flash size or PSRAM options.
- Breadboard-Friendly Pinout: Features standard 2.54mm (0.1″) pitch headers that fit easily onto a breadboard for prototyping with jumper wires and peripherals.
- Integrated Support Circuitry: Includes all minimal system requirements on the PCB: a USB-UART bridge, LDO voltage regulator, and essential boot/reset buttons.
- Micro USB Interface: Provides a convenient single point for both 5V power supply and serial communication with a host PC.
- Rich I/O Availability: All important GPIO pins are exposed, supporting multiple functions like ADC, DAC, I²C, I²S, SPI, PWM, and capacitive touch.
- Flexible Power Management: Supports power via the Micro USB port, or external 5V/3.3V supply pins (mutually exclusive options).
Technical Specifications (Parameters)
These parameters relate to the base plate’s standard implementation, assuming a typical WROOM module is installed:
| Feature | Detail |
|---|---|
| PCB Type | ESP32-DevKitC V4 Base Plate |
| USB Interface | Micro USB Port |
| USB-to-UART Chip | Typically CP2102, CP2102N, CH340, or CH9102X (varies by vendor) |
| Input Voltage (USB) | 5V DC |
| Operating Voltage (I/O Logic) | 3.3V DC (via onboard LDO) |
| Host Module Support | ESP32-WROOM/WROVER series (Module sold separately in “base plate only” offerings) |
| CPU/Connectivity | Dependent on the installed module (typically Xtensa Dual-Core 32-bit, Wi-Fi, Bluetooth) |
| Dimensions | Standard compact footprint (approx. 55.5mm x 28.3mm) |
| I/O Pin Count | 36 or 38 pins total (varies by specific board revision) |