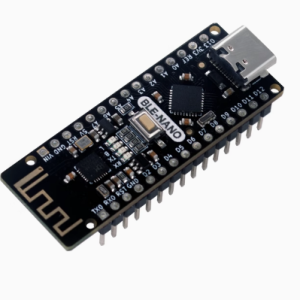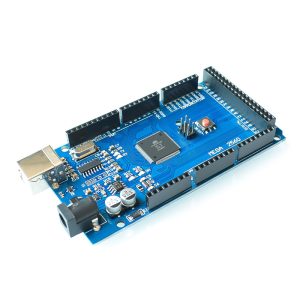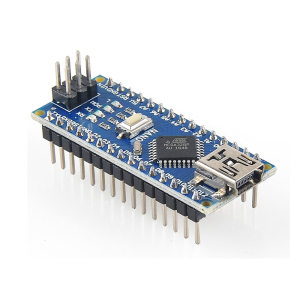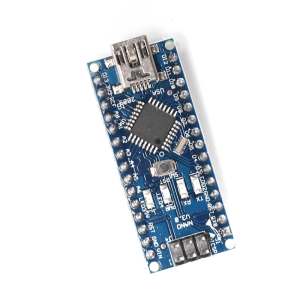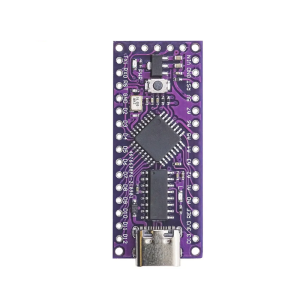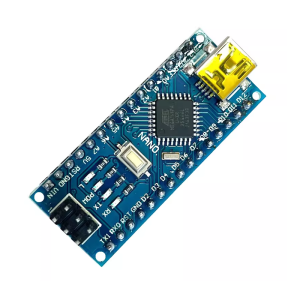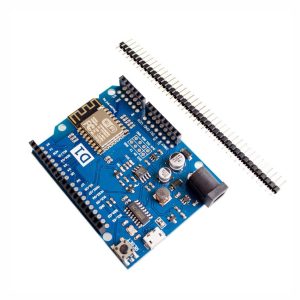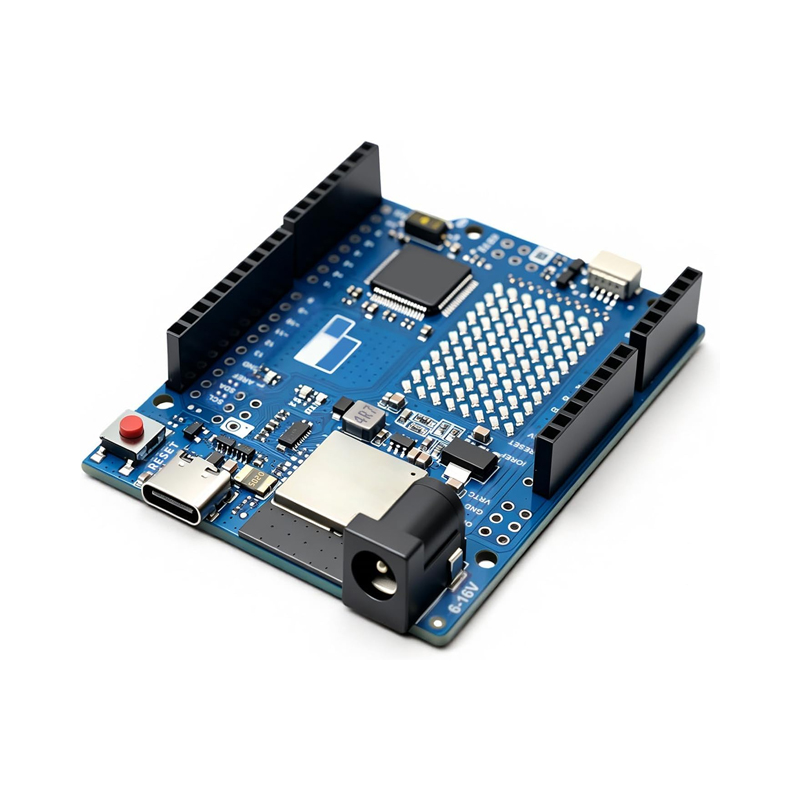
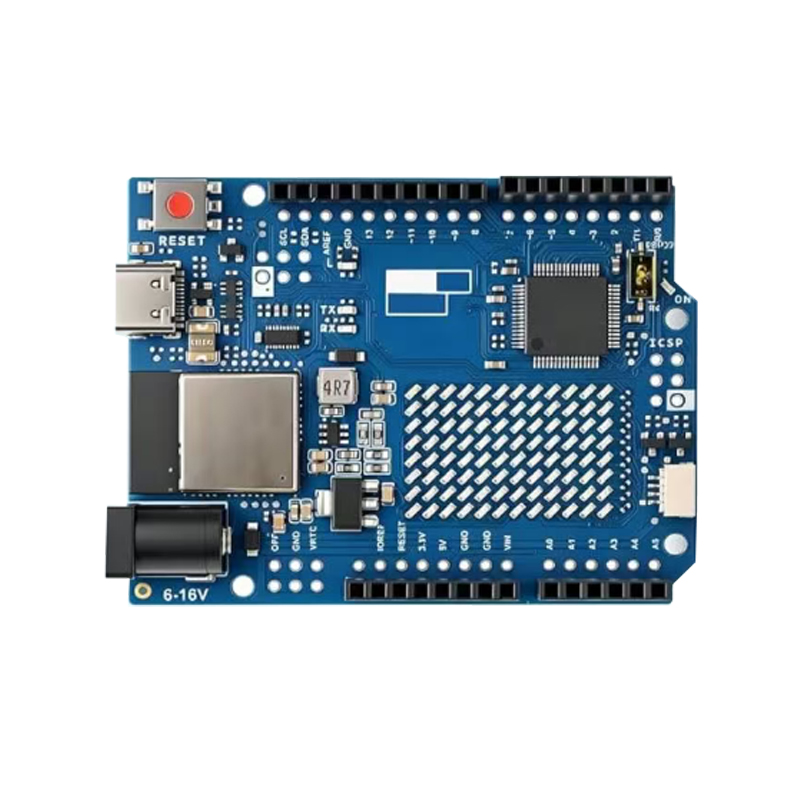
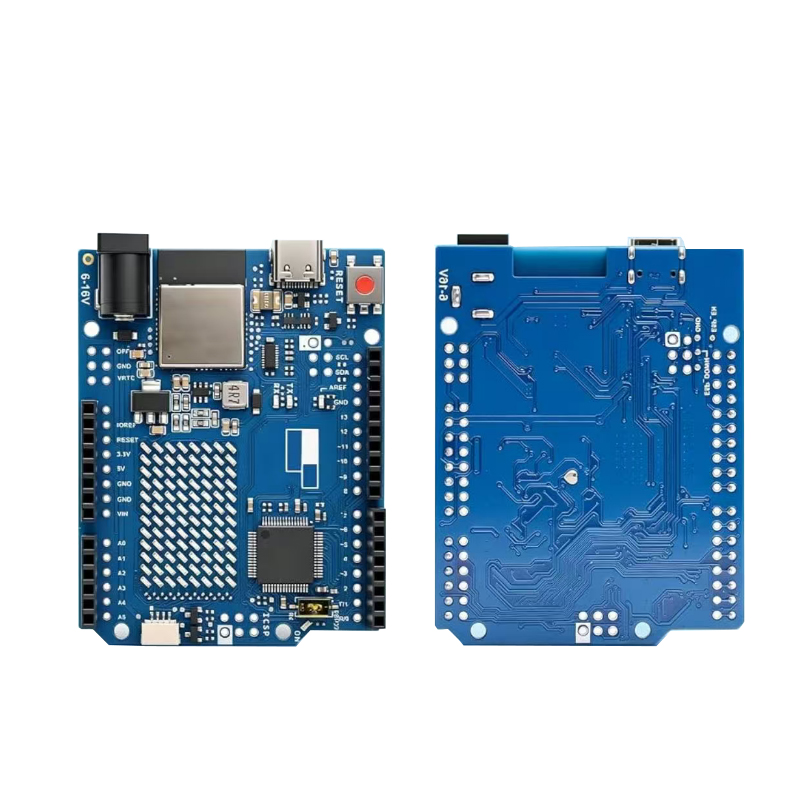
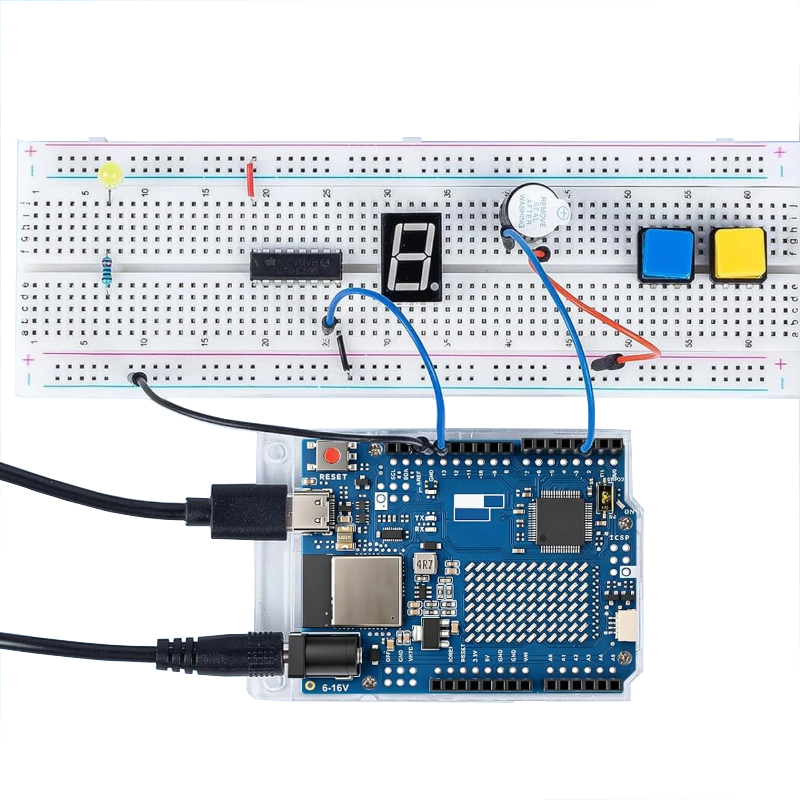
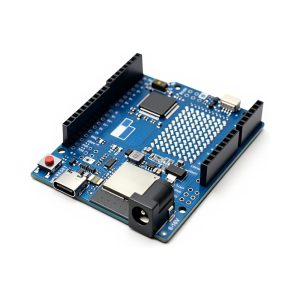
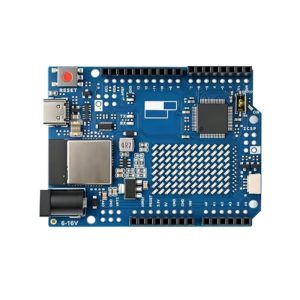
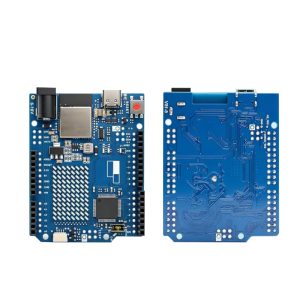
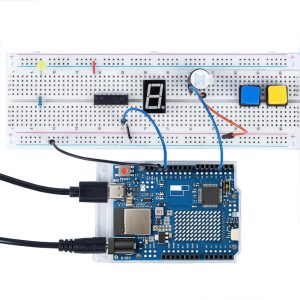
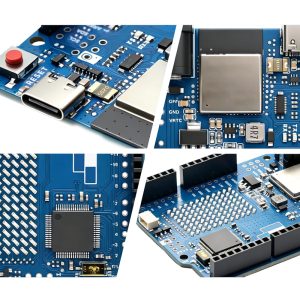
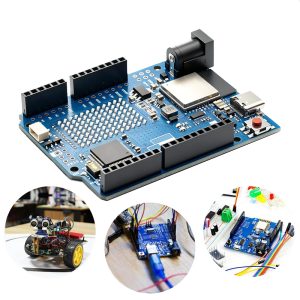
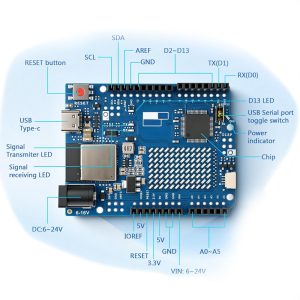
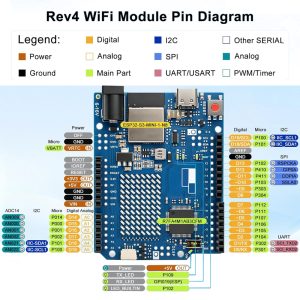
UNO R4 WiFi development board programming learning module TYPE-C interface[Made in China]

SKU: FA1001-2-2
Microcontroller

Renesas RA4M1 (Arm Cortex-M4)

Clock Speed

48 MHz

Memory

256 kB Flash / 32 kB SRAM

Wireless

ESP32-S3-MINI-1-N8 (WiFi + Bluetooth LE)

USB Interface

Type-C

Digital I/O Pins

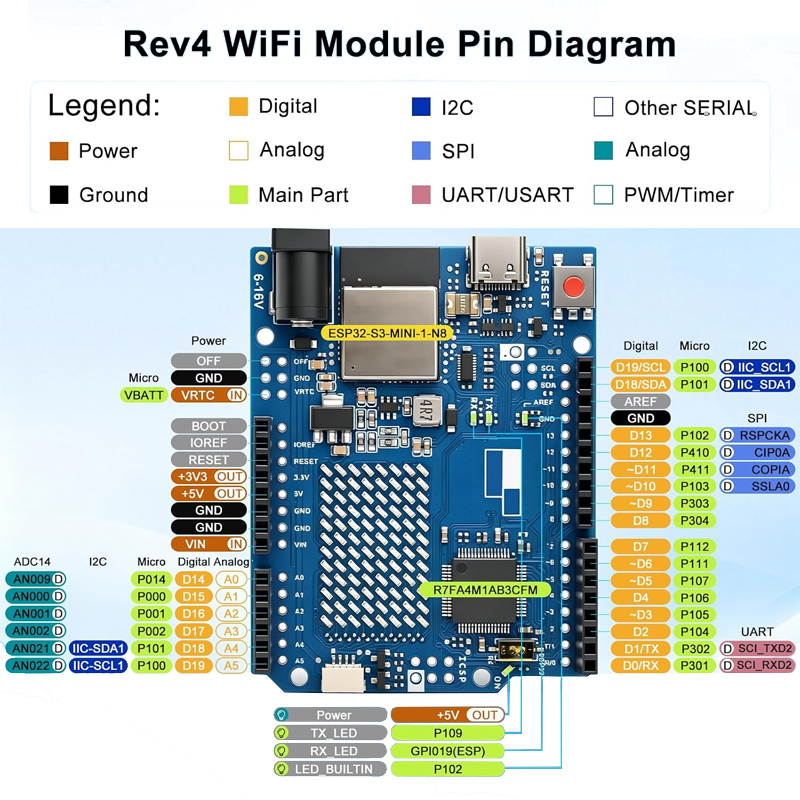
14 (including 6 PWM)

Analog Input Pins

6

Input Voltage (VIN)

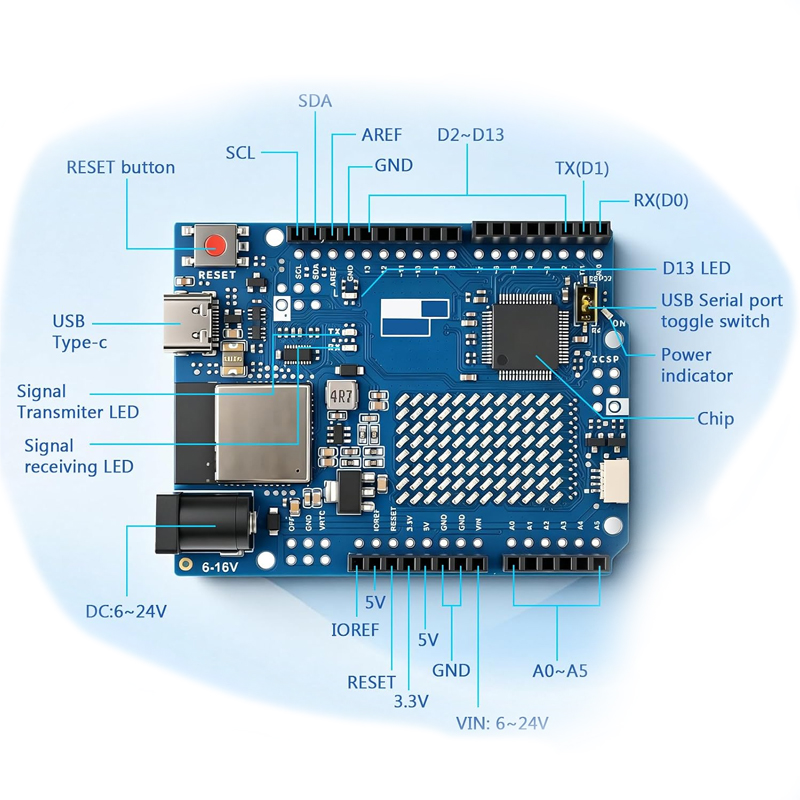
6–24V DC

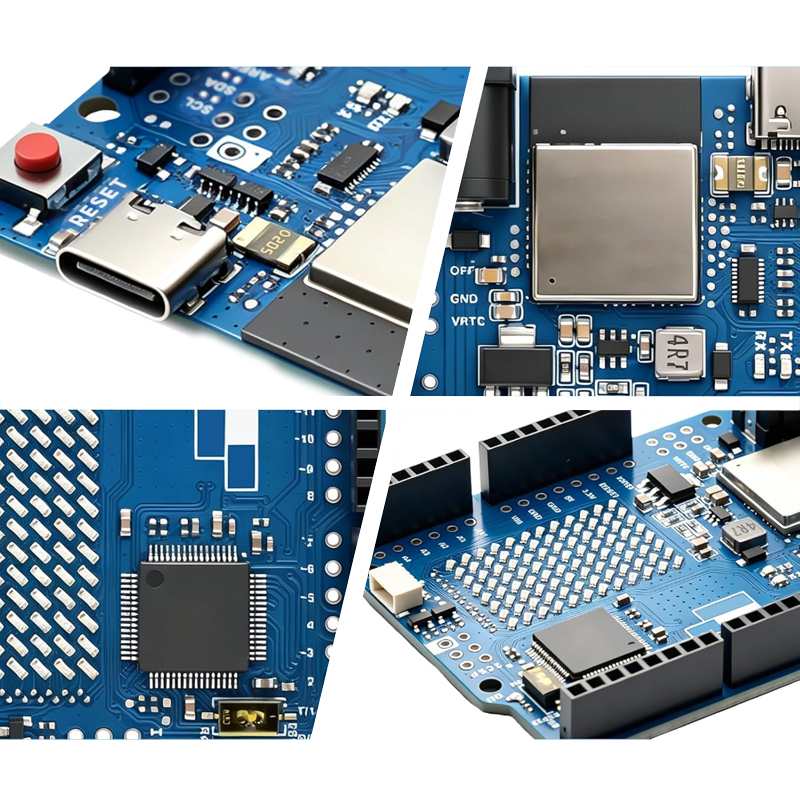
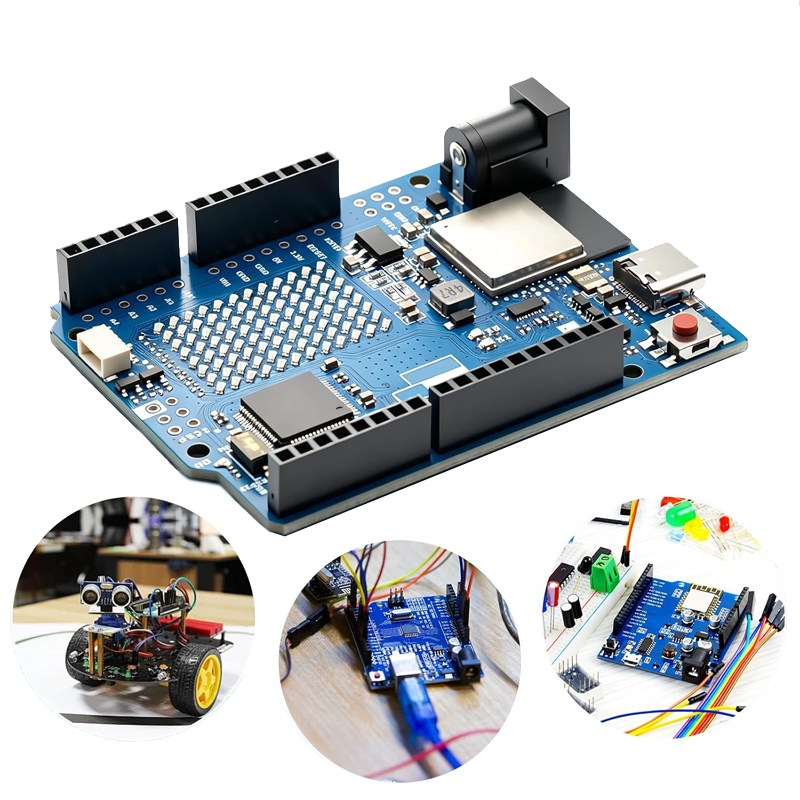
The UNO R4 WiFi Development Board is a modernized evolution of the classic UNO platform, bringing 32-bit processing power, wireless connectivity, and a host of new features to the familiar UNO form factor. Designed for programming learning, prototyping, and IoT development, this board maintains full compatibility with existing UNO shields and accessories while delivering significantly enhanced performance and capability.

At the heart of the board is a Renesas RA4M1 microcontroller featuring a 48 MHz Arm Cortex-M4 core, a major upgrade from the 8-bit AVR used in previous generations. This 32-bit architecture provides 256 kB Flash and 32 kB SRAM — eight times the Flash and sixteen times the SRAM of the UNO R3 — enabling more complex projects and smoother operation . The board operates at 5V, ensuring seamless compatibility with the vast ecosystem of UNO shields and legacy designs .

Wireless connectivity is handled by an onboard ESP32-S3 module, which provides both WiFi and Bluetooth Low Energy capabilities. This allows the board to connect to the internet for IoT projects, communicate with mobile devices, and interact with cloud platforms . The ESP32-S3 also serves as a co-processor, contributing its own processing resources and enabling features like USB HID emulation for keyboard and mouse projects .

One of the board‘s most distinctive features is its 12×8 LED matrix (96 red LEDs), which can display text, animations, sensor data visualizations, and even simple games without any external components . The board also includes a Qwiic I2C connector for rapid prototyping with compatible sensors and modules, a 12-bit DAC for analog output, and support for CAN bus communication .

The Type-C USB interface provides programming and serial communication, and the board is recognized by the Arduino IDE without additional drivers. Hardware debugging is supported over USB, and a fatal-error catcher prints stack traces to the Serial Monitor, helping learners identify and fix code issues more easily .

Made in China, this board is suitable for individual learners, hobbyists, and businesses purchasing in bulk for education, training, or product development.

Features

  • Renesas RA4M1 32-bit Arm Cortex-M4 @ 48 MHz — Three times the clock speed of UNO R3 for faster calculations and complex projects .

  • ESP32-S3 WiFi/Bluetooth module — Built-in wireless connectivity for IoT and remote control applications .

  • 12×8 red LED matrix (96 LEDs) — Display animations, sensor data, and text without external hardware .

  • Type-C USB interface — Modern connector for programming and serial communication .

  • Qwiic I2C connector — Plug-and-play connection for Qwiic ecosystem sensors and modules .

  • 256 kB Flash / 32 kB SRAM — Significantly expanded memory for larger programs and data handling .

  • 12-bit DAC and CAN bus support — Analog output and automotive/industrial communication capability .

  • USB HID support — Emulate keyboard, mouse, or game controller for interactive projects .

Technical Specifications 

# Parameter Specification
1 Microcontroller Renesas RA4M1 (Arm Cortex-M4)
2 Clock Speed 48 MHz
3 Memory 256 kB Flash / 32 kB SRAM
4 Wireless ESP32-S3-MINI-1-N8 (WiFi + Bluetooth LE)
5 USB Interface Type-C
6 Digital I/O Pins 14 (including 6 PWM)
7 Analog Input Pins 6
8 Input Voltage (VIN) 6–24V DC 

Usage

Getting Started

  1. Install Arduino IDE 2.x — Download and install the latest Arduino IDE from the official software page .

  2. Install board support — Open Boards Manager, search for “Arduino UNO R4,” and install the board package .

  3. Connect the board — Plug a USB-C cable (data-capable, not charge-only) into the board and your computer .

  4. Select board and port — In Arduino IDE, choose “Arduino UNO R4 WiFi” and the correct serial port .

  5. Upload your first sketch — Open the Blink example and click Upload. The built-in LED on pin 13 should start blinking .

  6. Explore LED matrix — Use the Arduino LED Matrix library to display text, animations, or sensor data on the 96-LED grid .

Typical Applications

  • Programming learning — Ideal for beginners learning Arduino coding with a modern 32-bit platform .

  • IoT projects — WiFi connectivity enables cloud connection, remote monitoring, and smart home applications .

  • Interactive displays — LED matrix supports animations, games, and sensor data visualization .

  • Sensor integration — Qwiic connector and I2C support allow rapid connection to a wide range of sensors .

  • HID projects — Emulate keyboard, mouse, or game controller for human-interface devices .

  • Educational kits — Suitable for classroom sets and STEM training programs.

Notes for Business Buyers

  • Full UNO shield compatibility — Existing shields and accessories work with the R4 WiFi, preserving investment in legacy hardware .

  • Standard Arduino API support — Most libraries based on the Arduino API run without modification .

  • Made in China — Cost-effective option for volume purchasing and educational deployment.

  • Suitable for bulk purchasing — Ideal for schools, training centers, and product development teams.

Q: Is this board compatible with UNO R3 shields?

Yes. The UNO R4 WiFi maintains the same form factor, pinout, and 5V operating voltage as the UNO R3, ensuring hardware compatibility with existing shields .

Q: What is the difference between UNO R4 WiFi and UNO R3?

The R4 WiFi features a 32-bit Renesas RA4M1 (48 MHz) vs. the R3‘s 8-bit ATmega328P (16 MHz), 256 kB Flash vs. 32 kB, 32 kB SRAM vs. 2 kB, Type-C vs. Type-B USB, plus WiFi/Bluetooth and an LED matrix .

Q: Do I need to install drivers for this board?

The Arduino IDE recognizes the UNO R4 WiFi without additional drivers. Install the Arduino UNO R4 board package through the Boards Manager .

Q: Can I use my existing Arduino libraries?

Most libraries based on the Arduino API work without modification. Libraries that use AVR-specific instructions are not compatible and may need alternatives or updates .

Q: What is the LED matrix used for?

The 12×8 LED matrix (96 red LEDs) can display text, animations, sensor data visualizations, and simple games without external hardware. Arduino provides a dedicated library and browser-based tool for designing patterns .

Q: Does this board support WiFi and Bluetooth?

Yes. The onboard ESP32-S3 module provides both WiFi and Bluetooth Low Energy connectivity for IoT and wireless projects .

Q: What is the Qwiic connector?

The Qwiic connector is a standardized I2C interface for quickly connecting compatible sensors and modules without soldering. It uses a 4-pin JST-SH connector .

Q: What is the input voltage range?

The board accepts 6–24V DC on the VIN pin or barrel jack, providing flexibility for powering motors, LED strips, and other actuators from a single supply .

Q: Can this board emulate a keyboard or mouse?

Yes. The UNO R4 WiFi supports USB HID, allowing it to emulate keyboard, mouse, or game controller inputs when connected to a computer .

Q: Can I purchase in bulk for a school or training program?

Yes. This board is suitable for both individual users and business purchasing, including classroom sets, training centers, and product development teams.