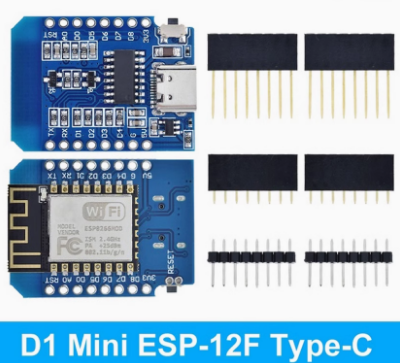
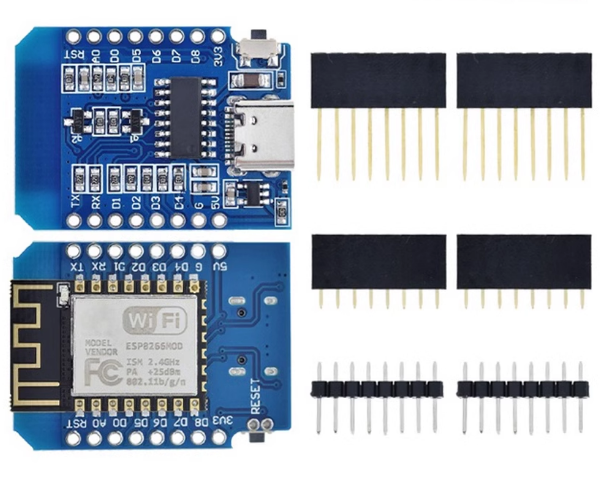
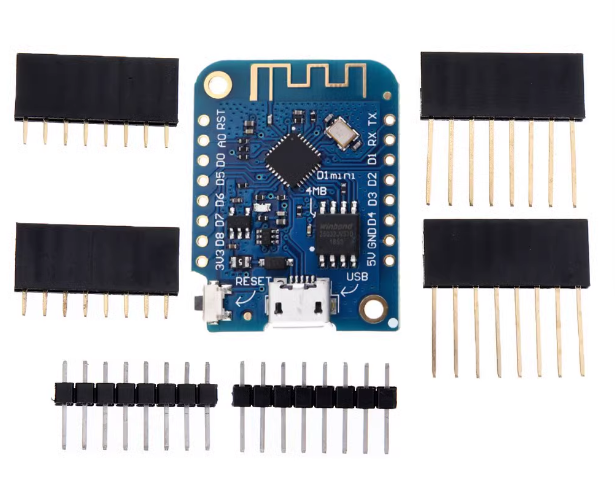
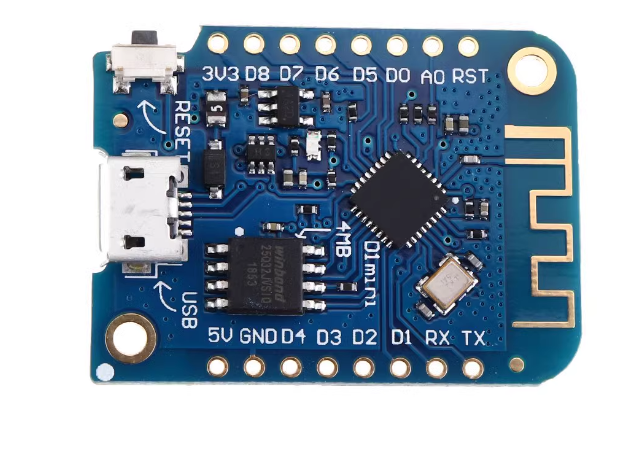
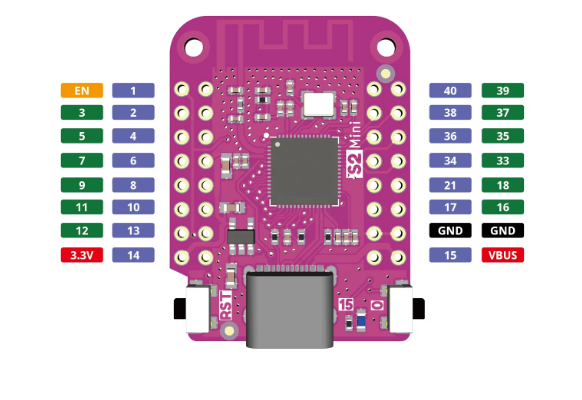
The ESP32-S2 Mini V1.0.0 is an IoT development board that is physically compatible with the D1 Mini form factor and shields, but uses the more powerful ESP32-S2FN4R2 chip instead of the older ESP8266. It features a Type-C USB interface for power and programming.
Key Features
- Connectivity: Built-in Wi-Fi capabilities for seamless connection in a wide array of IoT applications, such as smart home devices and industrial automation.
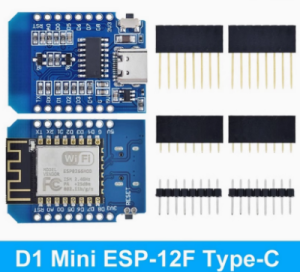
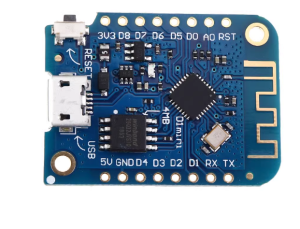
- Form Factor: The board uses the compact D1 mini form factor, which makes it compatible with existing D1 mini shields, offering easy expandability.
- Programming Flexibility: It supports multiple popular development frameworks including the Arduino IDE, MicroPython, and ESP-IDF, making it accessible for developers of all skill levels.
- Security: The ESP32-S2 chip includes dedicated hardware security features like cryptographic accelerators for AES, SHA, and RSA algorithms, as well as secure boot signature verification.
- Low Power: Designed for ultra-low-power applications, it features fine-grained clock gating and multiple low-power modes for optimal power consumption.
The ESP32-S2 Mini V1.0.0 is ideal for prototyping and deploying various Internet of Things (IoT) and embedded system projects.
Common applications include:
- Smart Home Devices: Creating custom home automation solutions, such as smart lights, thermostat controls, and connected sensors.
- Wearable Electronics: Its compact size and low power consumption make it suitable for integration into portable and battery-powered projects.
- Industrial Automation: Used in smart industrial devices, including sensor networks and remote monitoring systems.
- USB Gadgets: The native USB OTG support allows it to function as a USB host or device, enabling projects like custom keyboards or web USB interfaces.
- Health Monitoring: Development of smart medical and health monitoring devices.
- Educational Projects: An excellent platform for students and hobbyists to learn about embedded systems, Wi-Fi connectivity, and programming with various frameworks.
Q: How do I put the board into bootloader/upload mode?
If the board does not automatically go into upload mode during flashing, you need to manually intervene.
- Press and hold the BOOT button (sometimes labeled DFU).
- While holding BOOT, momentarily press and release the RESET button (sometimes labeled EN or RST).
- Release the BOOT button.
The board is now in ROM bootloader mode and ready to accept firmware.
Q: Why is my board not detected by the Arduino IDE or my computer?
This is a common issue with a few potential causes:
- Check your USB cable: Ensure you are using a proper data-enabled USB-C cable, as some cables are charge-only and lack data wires.
- Try a different port or cable: Faulty USB ports or cables are frequent culprits.
- Install necessary drivers/board definitions: Make sure you have the correct ESP32 board support package installed in the Arduino IDE Boards Manager. The ESP32-S2 uses native USB, so it might appear as a different device type than boards with dedicated USB-to-Serial chips (like the CP2102).
- Manually enter bootloader mode: If it still doesn’t appear, use the button combination described above.
Q: Does this board support Bluetooth?
No, the ESP32-S2 series chip only supports Wi-Fi connectivity (IEEE 802.11 b/g/n). It does not have Bluetooth capabilities. If you require both Wi-Fi and Bluetooth, you would need a different model, such as a standard ESP32 or ESP32-C3/S3 board.
Q: What software can I use to program it?
You can program the ESP32-S2 Mini using several popular development frameworks:
- Arduino IDE: Widely used and easy to get started with.
- MicroPython/CircuitPython: For Python enthusiasts.
- Espressif IoT Development Framework (ESP-IDF): The official Espressif framework, offering the most control and access to all features.
Q: I successfully uploaded code, but it doesn't run until I press the Reset button. Is the board faulty?
No, this is normal behavior for the ESP32-S2. It doesn’t automatically reset after flashing in the same way some other boards do. After the upload finishes, you must manually press and release the RESET (EN) button to restart the chip and run your newly uploaded program.