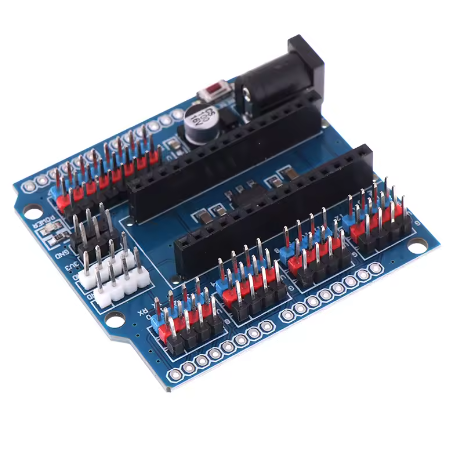
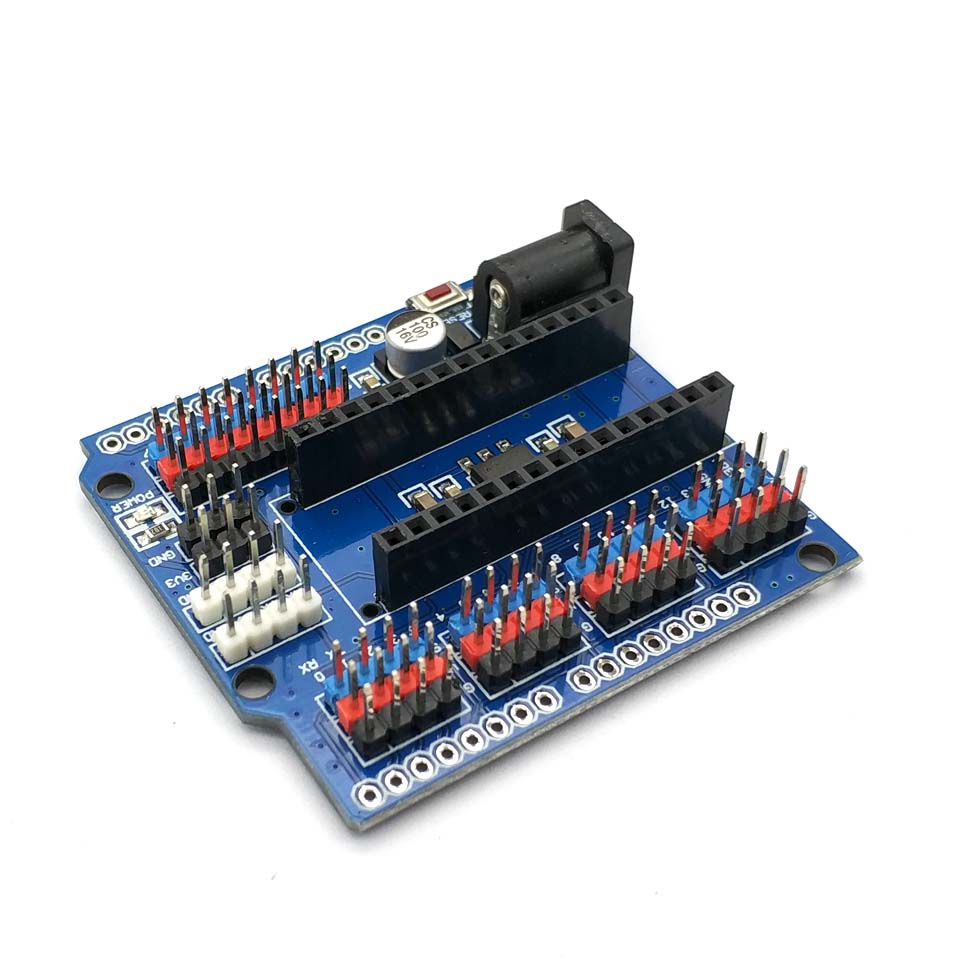
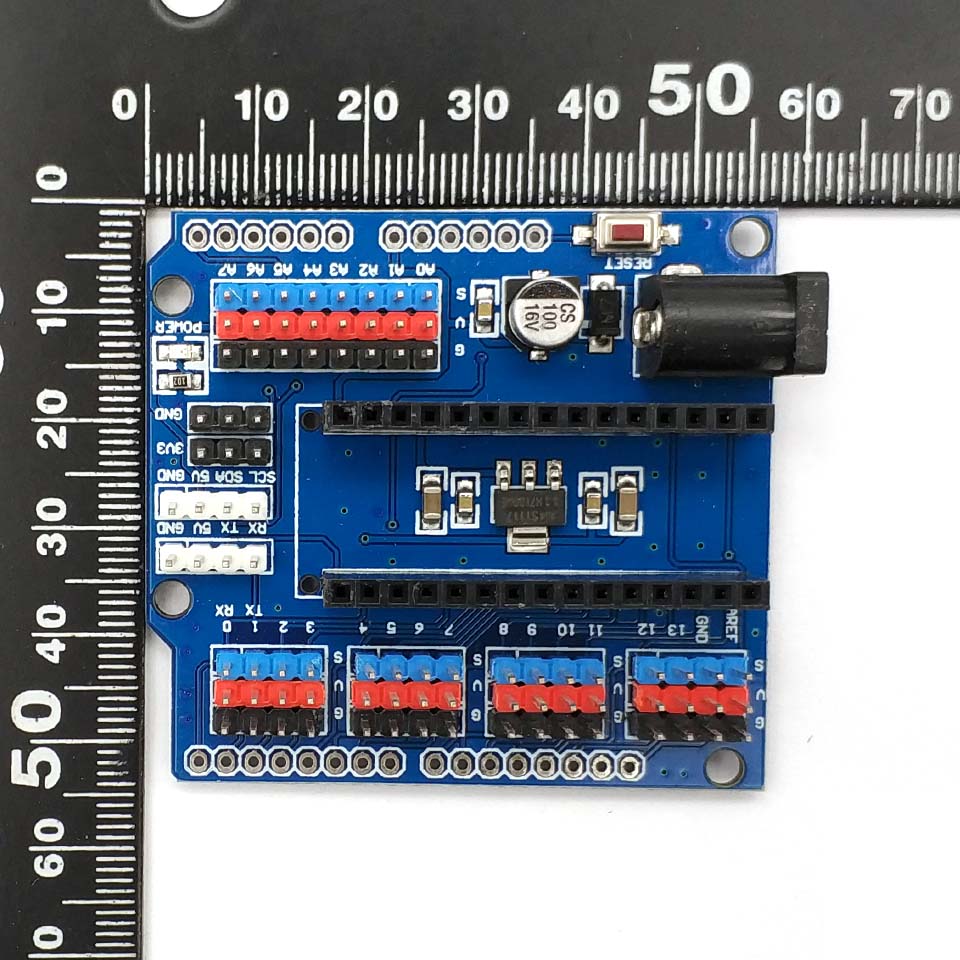
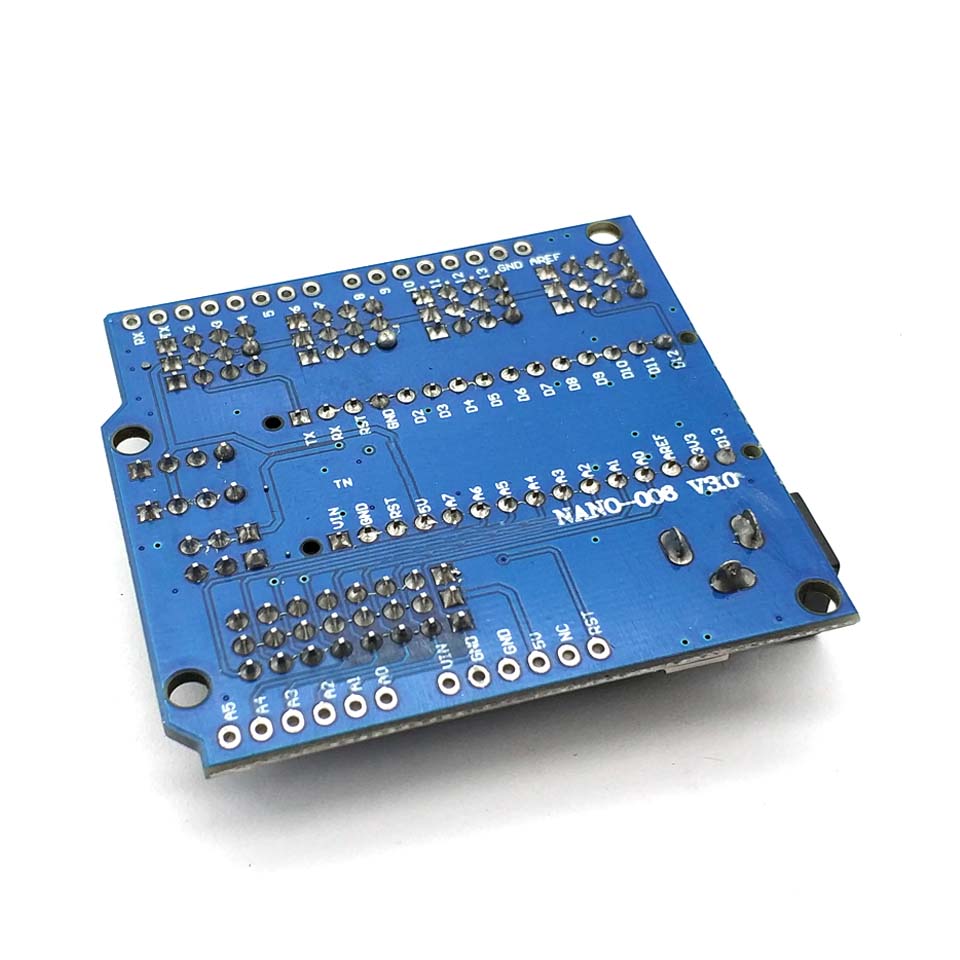
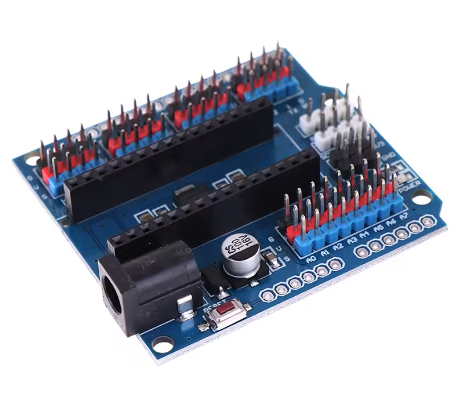
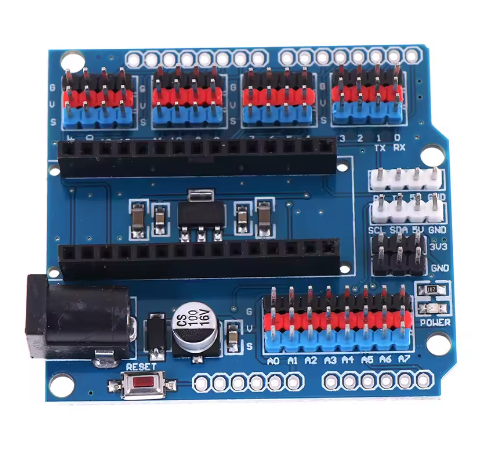
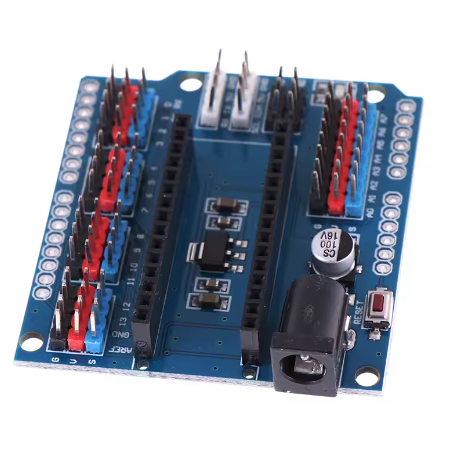
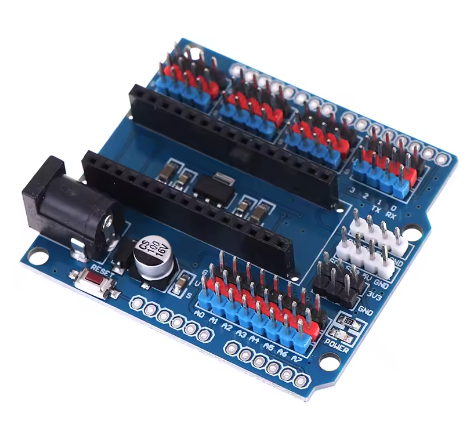
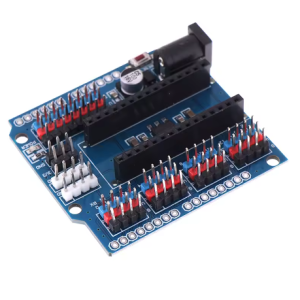
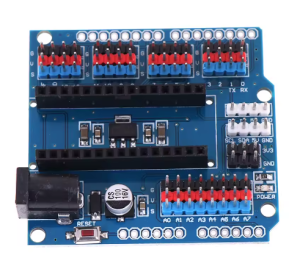
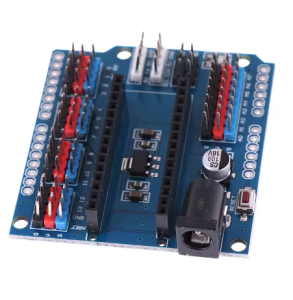
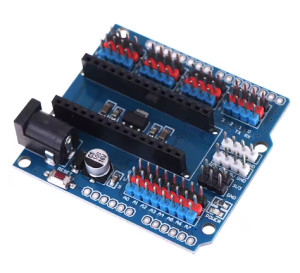
Arduino Nano Sensor Shield

SKU: FA1070
Compatibility

Arduino Nano, DFRduino Nano, Bluno Nano, and compatible boards

Digital I/O Pins

14 pins broken out (including 6 PWM)

Analog Input Pins

8 pins with power output and GND

I2C Expansion

Independent I2C port (SDA, SCL, GND, VCC)

UART Expansion

UART port (RX, TX, VCC, GND)

Power Input

7–12V DC via barrel jack; +5V logic

Servo Power Input

Independent power input for servos/high-current devices

Dimensions

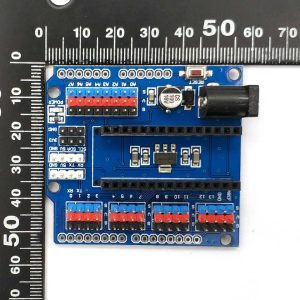
69 × 54 mm (2.7 × 2.1 in)

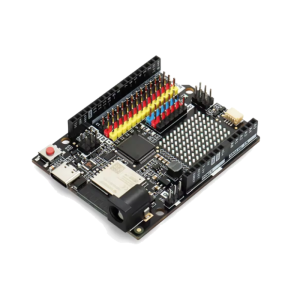
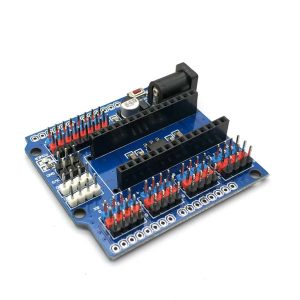
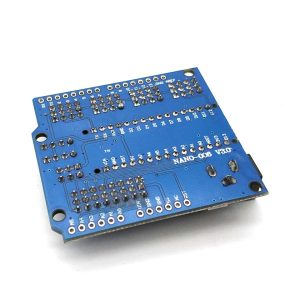
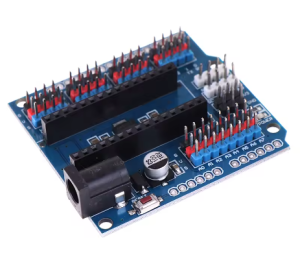
The Arduino Nano Sensor Shield is an expansion board designed to simplify wiring, power distribution, and sensor connection for the Arduino Nano and compatible microcontrollers. While the Nano’s compact form factor makes it ideal for space-constrained projects, its dense pin layout can make connecting multiple sensors and modules challenging. This shield solves that problem by reorganizing every available pin into convenient three-wire interfaces (Signal, Power, Ground), allowing you to plug sensors and servos directly without messy jumper wire configurations.

The shield adopts the same form factor as the Arduino UNO and Arduino Leonardo, providing a familiar, spacious layout for prototyping. Every pinout includes dedicated 5V and GND connections, making it compatible with plug-and-play sensor modules as well as standard jumper wires for traditional breadboard-style experiments. This dual compatibility means you can use it with Gravity-style sensors or with any standard three-pin module.

An independent power supply option sets this shield apart from basic breakout boards. The shield can provide extra current for servos and other high-draw sensors through a separate power input, helping to isolate board logic power from higher-load modules. A jumper allows you to connect the 5V rail to the VCC pins, or you can power VCC pins externally when the jumper is left open.

Dedicated space is provided for wireless modules and I2C expansion, making it suitable for IoT projects and compact robotics control. The fully assembled board also includes a reset button and a DC power jack for convenient external power input.

Features

  • Three-wire pin breakout — Every digital, analog, and power pin is reorganized into convenient Signal-Power-Ground triplets for direct sensor connection.

  • Independent servo power input — Separate power supply option for servos and high-current sensors, with a jumper to select between board 5V and external supply.

  • Gravity and jumper wire compatible — Supports both plug-and-play sensor modules and standard jumper wires for maximum flexibility.

  • Wireless module space — Dedicated mounting area for Bluetooth modules and compatible wireless add-ons.

  • Expanded I2C pins — Additional I2C breakout for connecting multiple I2C devices simultaneously.

  • DC power jack included — On-board barrel jack accepts 7–12V external power input.

  • Reset button on board — Convenient reset access without reaching for the Nano’s small button.

  • UNO-compatible form factor — Same footprint as Arduino UNO/Leonardo for a familiar, spacious layout.

Technical Specifications 

# Parameter Specification
1 Compatibility Arduino Nano, DFRduino Nano, Bluno Nano, and compatible boards
2 Digital I/O Pins 14 pins broken out (including 6 PWM)
3 Analog Input Pins 8 pins with power output and GND
4 I2C Expansion Independent I2C port (SDA, SCL, GND, VCC)
5 UART Expansion UART port (RX, TX, VCC, GND)
6 Power Input 7–12V DC via barrel jack; +5V logic
7 Servo Power Input Independent power input for servos/high-current devices
8 Dimensions 69 × 54 mm (2.7 × 2.1 in)

Usage

Getting Started

  1. Mount the shield — Align the Nano’s pins with the shield’s female headers and press firmly to seat. Note the orientation: the Nano’s USB port should face outward.

  2. Power the board — Use the DC barrel jack (7–12V) or power via the Nano’s USB connection. For servos, use the independent servo power input.

  3. Connect sensors — Plug three-wire sensors directly into the organized Signal-Power-Ground pin rows. For jumper-wire sensors, use the same pin headers.

  4. Set the power jumper — For sensors drawing power from the Nano’s 5V regulator, leave the jumper in place. For servos requiring external power, remove the jumper and connect an external supply to the servo power input.

Typical Applications

  • Multi-sensor projects — Connect up to 8 analog and 14 digital sensors simultaneously without jumper wire congestion

  • Servo and robotics control — Dedicated servo power input for reliable operation of multiple servos

  • IoT and wireless projects — Dedicated space for Bluetooth and wireless modules

  • Weather stations — Easily connect temperature, humidity, and other environmental sensors

  • Classroom and training — Organized pin layout reduces wiring errors for educational settings

Notes for Business Buyers

  • The organized pin layout significantly reduces assembly time for production and training environments.

  • Independent power input capability supports projects with higher power requirements than the Nano alone can provide.

  • Compatible with multiple Nano variants for flexible sourcing and standardization.

  • Suitable for bulk purchasing for educational institutions, R&D teams, and integrators.

Q: Is this shield compatible with Arduino Nano 3.0?

Yes. It is designed for Arduino Nano and compatible boards including DFRduino Nano, Bluno Nano, and Nano 3.0

Q: Can I use this shield with Arduino UNO or Mega?

The shield’s form factor matches UNO and Leonardo, and some versions can be used with UNO, Mega, and Leonardo. However, the Nano mounts directly onto the shield, while other boards would require the shield to be stacked on top.

Q: What does the jumper on the shield do?

The jumper connects the 5V rail to the VCC pins. With the jumper in place, VCC pins receive power from the Nano’s 5V regulator. Remove the jumper to power VCC pins from an external supply.

Q: Can I power servos directly from the Nano through this shield?

For small servos, the Nano’s 5V regulator may be sufficient. For larger or multiple servos, use the independent servo power input to avoid overloading the Nano’s regulator.

Q: How many sensors can I connect simultaneously?

You can connect up to 14 digital devices and 8 analog devices using the three-wire interfaces, plus additional devices via I2C, UART, and SPI.

Q: Does this shield come assembled?

Yes. The shield comes fully assembled with all headers and connectors pre-soldered, ready for immediate use.

Q: Can I use standard jumper wires with this shield?

Yes. While the pin layout is optimized for three-wire sensor modules, standard jumper wires can also be connected to the same headers for breadboard-style prototyping.

Q: What is the purpose of the dedicated wireless module space?

The space is designed to accommodate Bluetooth modules and compatible wireless add-ons, making it easier to integrate wireless communication into compact Nano projects.

Q: Does the shield work with 3.3V logic sensors?

The shield operates at 5V logic. For 3.3V sensors, use appropriate level shifting or check if the sensor is 5V-tolerant.

Q: Can I purchase in bulk for a school or company?

Yes. This shield is suitable for both individual users and business purchasing, including classroom sets, lab equipment, and corporate training programs.