


Overview
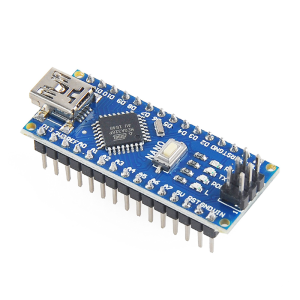
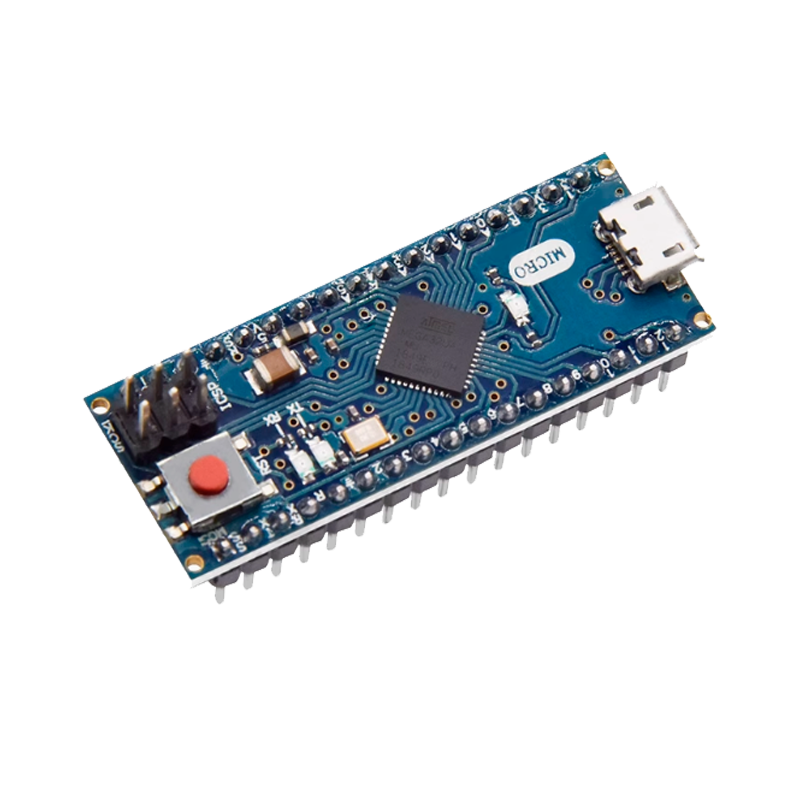
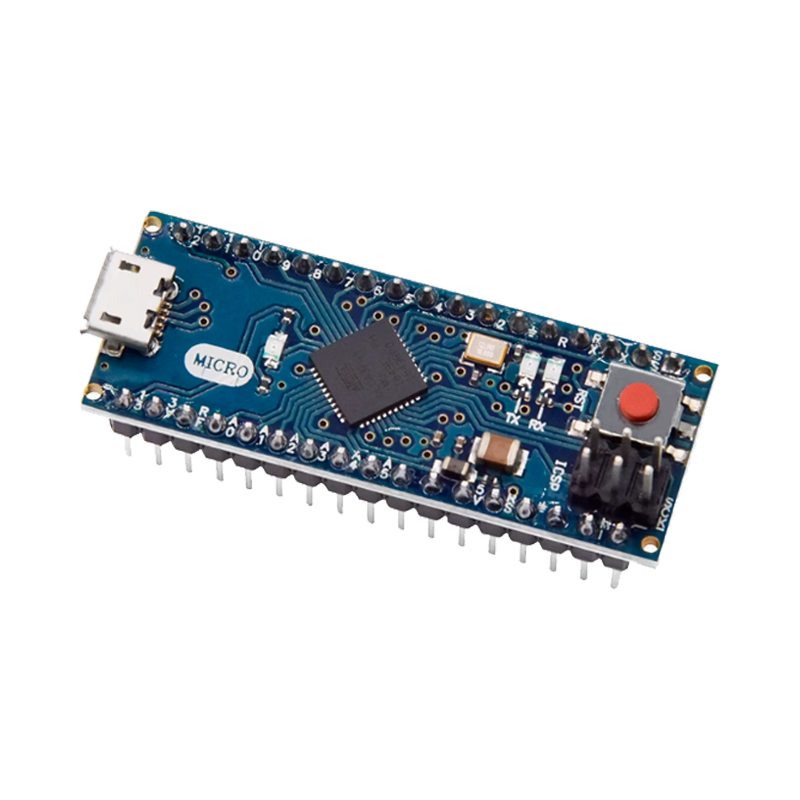
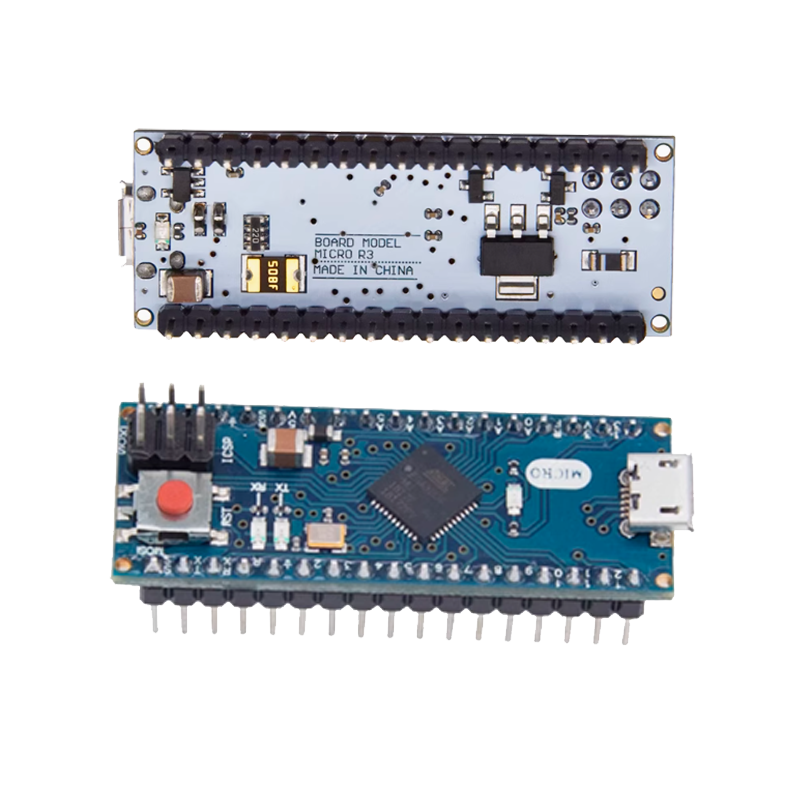
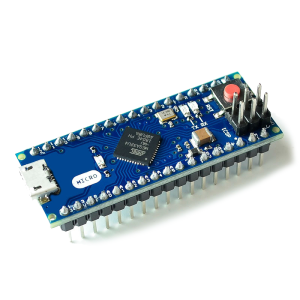
The Micro is a microcontroller board based on the ATmega32U4 (datasheet), developed in conjunction with Adafruit. It has 20 digital input/output pins (of which 7 can be used as PWM outputs and 12 as analog inputs), a 16 MHz crystal oscillator, a micro USB connection, an ICSP header, and a reset button. It contains everything needed to support the microcontroller; simply connect it to a computer with a micro USB cable to get started. It has a form factor that enables it to be easily placed on a breadboard.
The Micro board is similar to the Arduino Leonardo in that the ATmega32U4 has built-in USB communication, eliminating the need for a secondary processor. This allows the Micro to appear to a connected computer as a mouse and keyboard, in addition to a virtual (CDC) serial / COM port.
Related Boards
If you are looking at upgrading from previous Arduino designs, or if you are just interested in boards with similar functionality, at Arduino you can find:
- Arduino Leonardo
- Arduino Micro without headers
- Arduino Nano
- Arduino Nano 33 BLE
- Arduino Nano 33 BLE Sense
- Arduino Nano 33 IoT
Getting Started
Find inspiration for your projects from our tutorial platform Project Hub.
You can find in the Getting started with the Arduino Micro section all the information you need to configure your board, use the Arduino Software (IDE), and start tinkering with coding and electronics.
From the Tutorials section you can find examples from libraries and built-in sketches as well other useful information to expand your knowledge of the Arduino hardware and software.
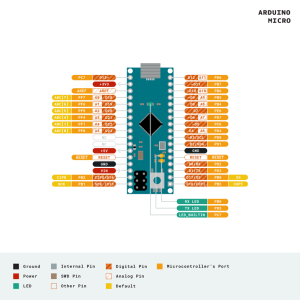
Tech specs
| Microcontroller | ATmega32U4 |
| Operating Voltage | 5V |
| Input Voltage (recommended) | 7-12V |
| Digital I/O Pins | 20 |
| PWM Channels | 7 |
| Analog Input Channels | 12 |
| DC Current per I/O Pin | 20 mA |
| DC Current for 3.3V Pin | 50 mA |
| Flash Memory | 32 KB (ATmega32U4) of which 4 KB used by bootloader |
| SRAM | 2.5 KB (ATmega32U4) |
| EEPROM | 1 KB (ATmega32U4) |
| Clock Speed | 16 MHz |
| LED_BUILTIN | 13 |
| Length | 48 mm |
| Width | 18 mm |
| Weight | 13 g |
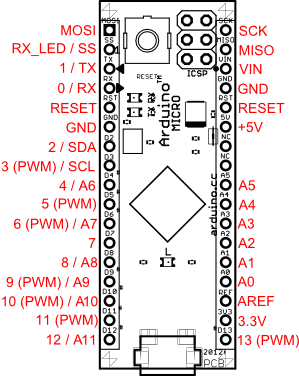
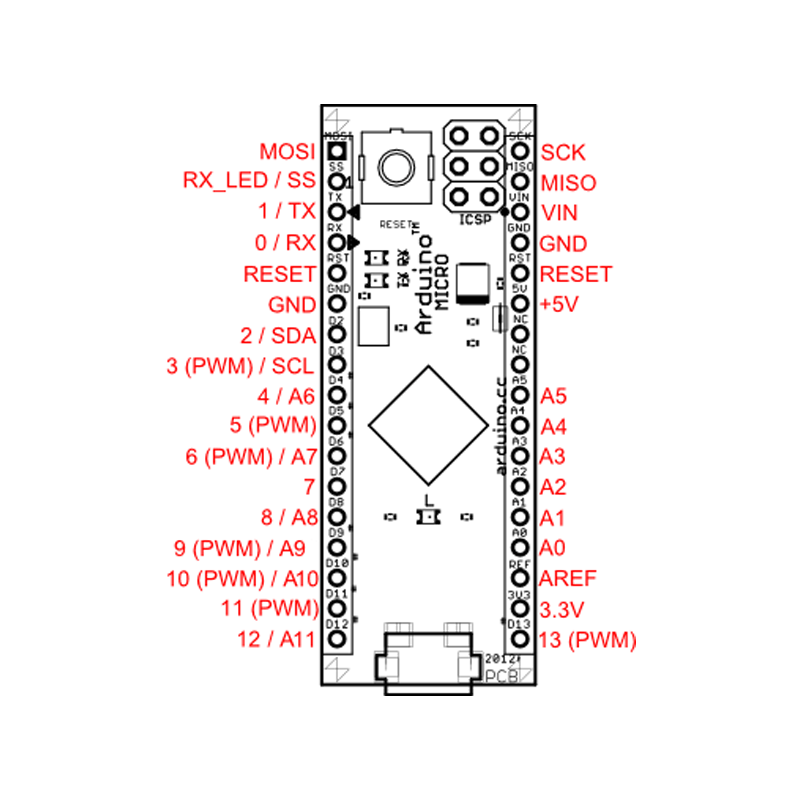
ATmega32U4-Arduino Pin Mapping
A diagram showing the correspondence between the pins on an Arduino board and those of the ATmega32U4 microcontroller.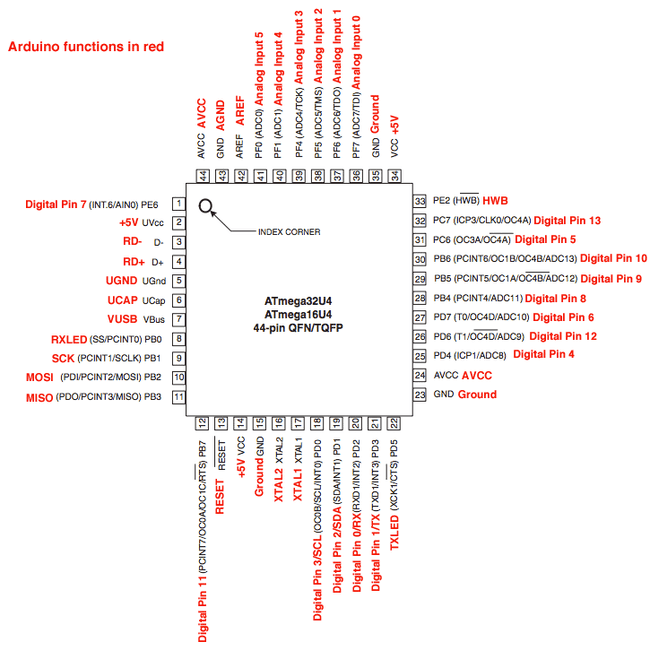
Arduino Leonardo pin mapping table
| Pin Number | Pin Name | Mapped Pin Name |
|---|---|---|
| 1 | PE6 (INT.6/AIN0) | Digital pin 7 |
| 2 | UVcc | +5V |
| 3 | D- | RD- |
| 4 | D+ | RD+ |
| 5 | UGnd | UGND |
| 6 | UCap | UCAP |
| 7 | VUSB | VBus |
| 8 | (SS/PCINT0) PB0 | RXLED |
| 9 | (PCINT1/SCLK) PB1 | SCK |
| 10 | (PDI/PCINT2/MOSI) PB2 | MOSI |
| 11 | (PDO/PCINT3/MISO) PB3 | MISO |
| 12 | (PCINT7/OC0A/OC1C/#RTS) PB7 | Digital pin 11 (PWM) |
| 13 | RESET | RESET |
| 14 | Vcc | +5V |
| 15 | GND | GND |
| 16 | XTAL2 | XTAL2 |
| 17 | XTAL1 | XTAL1 |
| 18 | (OC0B/SCL/INT0) PD0 | Digital pin 3 (SCL)(PWM) |
| 19 | (SDA/INT1) PD1 | Digital pin 2 (SDA) |
| 20 | (RX D1/AIN1/INT2) PD2 | Digital pin 0 (RX) |
| 21 | (TXD1/INT3) PD3 | Digital pin 1 (TX) |
| 22 | (XCK1/#CTS) PD5 | TXLED |
| 23 | GND1 | GND |
| 24 | AVCC | AVCC |
| 25 | (ICP1/ADC8) PD4 | Digital pin 4 |
| 26 | (T1/#OC4D/ADC9) PD6 | Digital pin 12 |
| 27 | (T0/OC4D/ADC10) PD7 | Digital Pin 6 (PWM) |
| 28 | (ADC11/PCINT4) PB4 | Digital pin 8 |
| 29 | (PCINT5/OC1A/#OC4B/ADC12) PB5 | Digital Pin 9 (PWM) |
| 30 | (PCINT6/OC1B/OC4B/ADC13) PB6 | Digital Pin 10 (PWM) |
| 31 | (OC3A/#0C4A) PC6 | Digital Pin 5 (PWM) |
| 32 | (ICP3/CLK0/)0C4A) PC7 | Digital Pin 13 (PWM) |
| 33 | (#HWB) PE2 | HWB |
| 34 | Vcc1 | +5V |
| 35 | GND2 | GND |
| 36 | (ADC7/TDI) PF7 | Analog In 0 |
| 37 | (ADC6/TDO) PF6 | Analog In 1 |
| 38 | (ADC5/TMS) PF5 | Analog In 2 |
| 39 | (ADC4/TCK) PF4 | Analog In 3 |
| 40 | (ADC1) PF1 | Analog In 4 |
| 41 | (ADC0) PF0 | Analog In 5 |
| 42 | AREF | AEF |
| 43 | GND3 | GND |
| 44 | AVCC1 | AVCC |