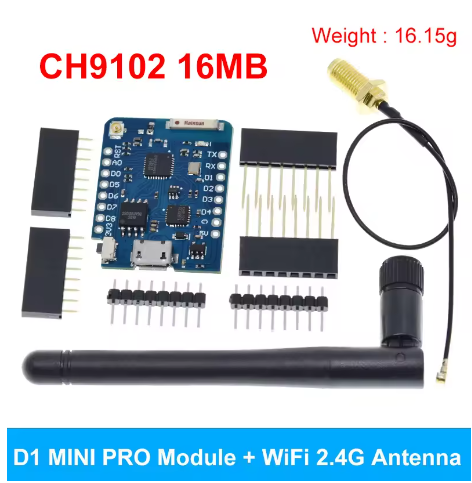
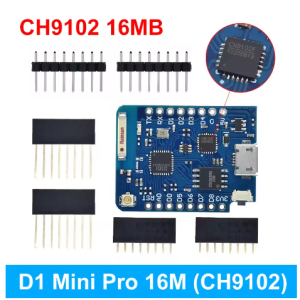
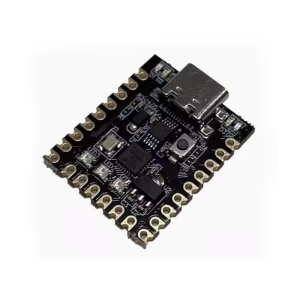
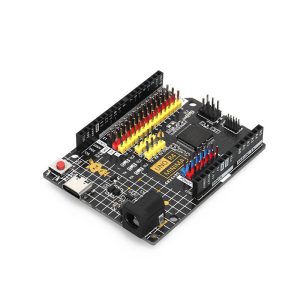
The “Mini D1 PRO 9102 Chip NodeMcu Lua” is an upgraded, compact WiFi development board based on the popular ESP8266 chip, similar to the WeMos D1 Mini but often with more flash memory (like 16MB/128Mbit) and an external antenna option for better range, featuring Micro USB, 11 I/O pins, and compatibility with Arduino IDE and NodeMCU firmware for IoT projects. The “9102” refers to the CH340G USB-to-Serial chip used for programming, making it easy to use with drivers.
NodeMcu Lua: Indicates it supports the NodeMCU open-source firmware, often programmed with Lua or Arduino IDE.
16MB=128Mbit: Specifies the large flash memory size for more code/data.
This board is ideal for DIY IoT projects, home automation, sensor networks, and learning about embedded systems with WiFi.
This board’s built-in Wi-Fi capabilities and extensive GPIO pins make it highly versatile for a wide range of applications.
Smart Home Automation: Control lighting, fans, or other home appliances remotely via a web interface or mobile app.
IoT Sensor Networks: Build wireless sensor networks for real-time monitoring of environmental data like temperature, humidity, or air quality, sending data to cloud platforms.
Web Servers: Host a small web server directly on the board to display sensor readings or create custom web applications.
Remote Monitoring Systems: Create smart security devices, such as a Wi-Fi-based motion detection system that sends alerts when movement is detected.
Prototyping: Rapidly develop and test various Wi-Fi-enabled prototypes due to its simple programming environment and numerous available shields/accessories.
Robotics: Integrate Wi-Fi control into a robot car project using a mobile or web interface.
Q: Do I need to install drivers to use this board?
Yes, you typically need to install the driver for the CH9102 USB-to-UART converter chip to allow your computer to communicate with the board. Drivers are available for Windows, macOS, and Linux from the manufacturer’s website. You may need to restart your operating system after installation.
Q: Which programming environments are compatible with this board?
The board is highly versatile and compatible with the Arduino IDE (using the ESP8266 board manager URL), NodeMCU (using Lua scripting), and MicroPython.
Q: How do I get started with programming in the Arduino IDE?
You will need to:
Install the CH9102 driver.
Install the Arduino IDE.
Add the ESP8266 boards manager URL in the IDE preferences (http://arduino.esp8266.com/stable/package_esp8266com_index.json).
Use the Boards Manager to install the esp8266 platform.
Select the “WeMos D1 R2 & mini” board from the Tools menu.
Q: The board is not detected by my computer or programming fails. What should I do?
Ensure the CH9102 driver is installed correctly and your computer has been restarted.
Try a different micro-USB cable, as some cables are “charge-only” and lack data wires.
Connect the board directly to your computer’s USB port, avoiding USB hubs, as some hubs interfere with the auto-reset signal.
Ensure you have selected the correct board and COM/serial port in the Arduino IDE.
Check that your USB port is providing sufficient power, or try a different computer.
Q: Is this board the same as the official Wemos/Lolin D1 Mini Pro?
This is a compatible, third-party development board (clone) that utilizes the ESP8266EX chip, 16MB flash, and CH9102 serial converter, matching the specifications of the D1 Mini Pro. While pinouts and features are largely identical, it’s a good practice to ensure the correct drivers are used for the specific CH9102 chip rather than drivers for other converters like the CH340 or CP2104.