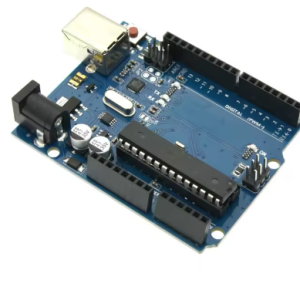
The UNO R3 board with the CH340G chip is a cost-effective, fully compatible version of the standard Arduino Uno. It is used for learning electronics and programming, building projects with sensors and actuators, and prototyping various embedded systems, requiring driver installation for the CH340G chip on your computer to function correctly.
Product Details and Reviews
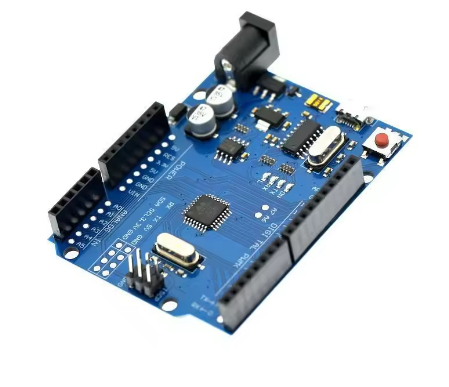
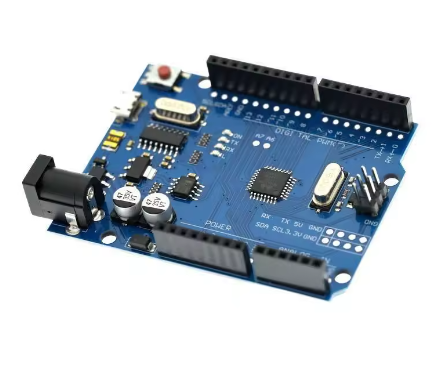
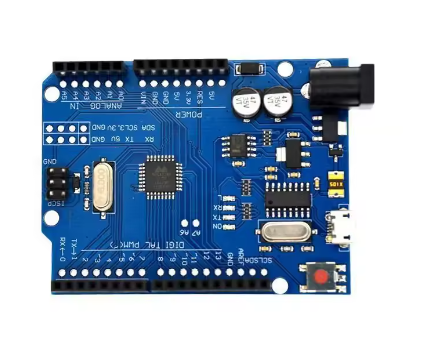
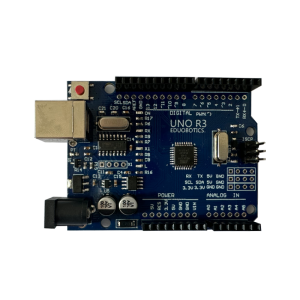
- Microcontroller: The board utilizes the ATmega328P microcontroller unit (MCU) in a surface-mount device (SMD) package.
- USB Interface: It features the low-cost CH340G USB-to-serial converter chip instead of the Atmega16U2 found on the official version, which helps keep the price down.
- Compatibility: This “Chinese version” is designed to be fully compatible with the official Arduino software (IDE) and most Arduino shields and development tools, with code being replaceable without difference.
- Driver Installation: The primary difference noted by users is the requirement to install the specific CH340G driver, which is typically a simple process, with the board working perfectly fine afterwards.
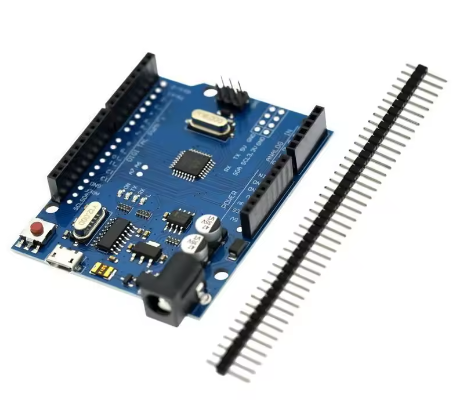
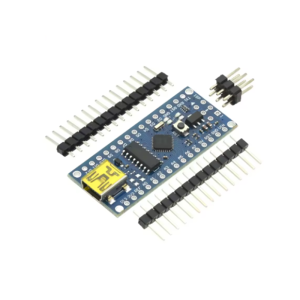
- Additional Features: Some versions, such as those from the DCCduino team, may include additional pin headers (male and female) adjacent to the main connectors to facilitate easier wiring with Dupont cables and other accessories.
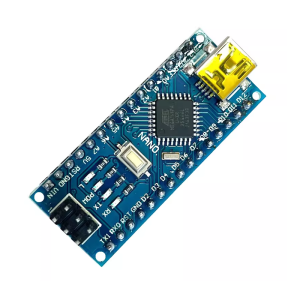
- Lack of Cable: As specified, these products generally do not include a USB cable, requiring you to source a Micro-USB cable separately.
Usage and Getting Started
The board is used exactly like an official Arduino Uno R3, primarily with the free Arduino Integrated Development Environment (IDE) software.
- Software Setup: Download and install the Arduino IDE on your Windows, Mac, or Linux computer from the official Arduino website.
- Driver Installation: Since this board uses the CH340G USB-to-serial converter, you must install the corresponding CH340G driver. Drivers can usually be found on the manufacturer’s website (WCH) or from the vendor you purchased the board from. After installation, the board will show up as a “USB-SERIAL CH340” on a specific COM port in your computer’s Device Manager.
- Connecting and Programming:
- Connect the board to your computer using a Micro-USB cable (not included).
- Open the Arduino IDE and navigate to Tools > Board and select “Arduino UNO”.
- Go to Tools > Port and select the new COM port that appeared after plugging in the board.
- You can now load and upload sketches (programs) to the board, such as the built-in “Blink” example, to start tinkering.
- Power Supply: The board can be powered via the Micro-USB connection or an external power supply (7V-12V recommended) plugged into the DC power jack.
- Projects: The board is suitable for a wide range of projects, including controlling LEDs, reading sensor data, driving motors, and building automation systems.
Q: Is this board an original Arduino product?
No, this is a third-party, cost-effective clone or compatible board. It uses the same open-source hardware design as the official Arduino Uno R3 but replaces the more expensive ATmega16U2 USB chip with a lower-cost CH340G chip to reduce manufacturing costs.
Q: Is the board fully compatible with the Arduino IDE and software?
Yes, the board is 100% software-compatible with the official Arduino IDE. You select “Arduino UNO” as your board type within the IDE. All standard libraries and code examples will work as expected.
Q: What is the main difference between this board and an official Arduino Uno?
The primary difference is the USB interface chip:
- Official Uno: Uses an ATmega16U2.
- This Board: Uses a CH340G.
The CH340G chip requires a specific driver to be installed on your computer, whereas the 16U2 often works automatically with modern operating systems. Functionality-wise, once the driver is installed, there is no practical difference for typical use.
Q: Which driver do I need, and where can I download it?
You need the CH340G driver (also sometimes listed as CH340 or CH341). You can usually find the correct driver on the website of the vendor you purchased the board from, or by searching for the official WCH CH340G driver. You will need to install this driver before your computer recognizes the board.
Q: I plugged in the board, but my computer/Arduino IDE doesn't recognize it. What should I do?
This is almost always a driver issue. Please ensure you have:
- Installed the correct CH340G driver.
- Selected the correct board (“Arduino UNO”) in the Arduino IDE Tools > Board menu.
- Selected the correct COM port in the Tools > Port menu (it often appears as “USB-SERIAL CH340”).
If you are using Windows, check your Device Manager to confirm the driver is installed correctly without error symbols.
Q: The product listing says "without cable." What kind of USB cable do I need to buy?
You will need a Micro-USB Type B cable. This is a common cable used with many modern Android phones and other small electronics. A standard USB A-to-Micro B cable is sufficient for both power and data transfer.
Q: Can I power the board from an external source?
Yes. The board accepts an external power supply via the circular DC power jack. The recommended input voltage range is 7V to 12V. You can also power it via the 5V VIN pin or the 3.3V pin, but those methods are more advanced and require careful voltage regulation.
Q: I am new to Arduino. Is this a good board to start with?
Absolutely. It is mechanically and functionally identical to the standard development board recommended for beginners. The only extra step compared to the official board is installing the CH340G driver. Once that’s done, you have a fully functional and affordable platform for learning.