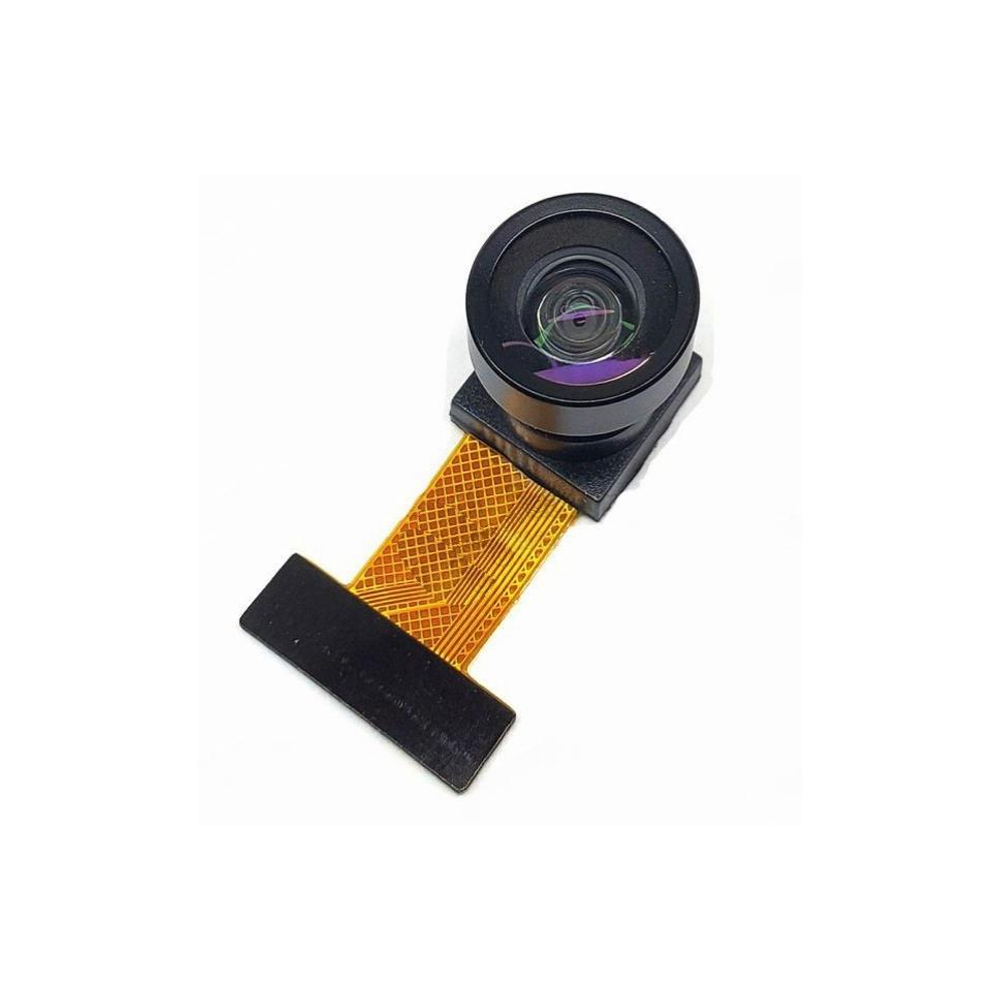
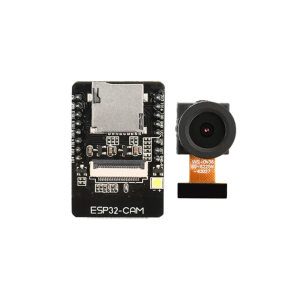
ESP32-CAM [2M]+Original OV3660 Camera

SKU: FA1053-2-0-2
Microcontroller

ESP32-S, dual-core 32-bit LX6, up to 240 MHz

Camera Sensor

Original OV3660, 3MP (2048 × 1536)

Memory

520 KB SRAM + 4 MB PSRAM (variant dependent)

Storage

MicroSD card slot, up to 32 GB (FAT32)

Wireless

Wi-Fi 802.11 b/g/n, Bluetooth v4.2 BR/EDR + BLE

Power Supply

5V via pins; 3.3V logic

GPIO Count

16 pins exposed

Dimensions

27 × 40.5 × 4.5 mm

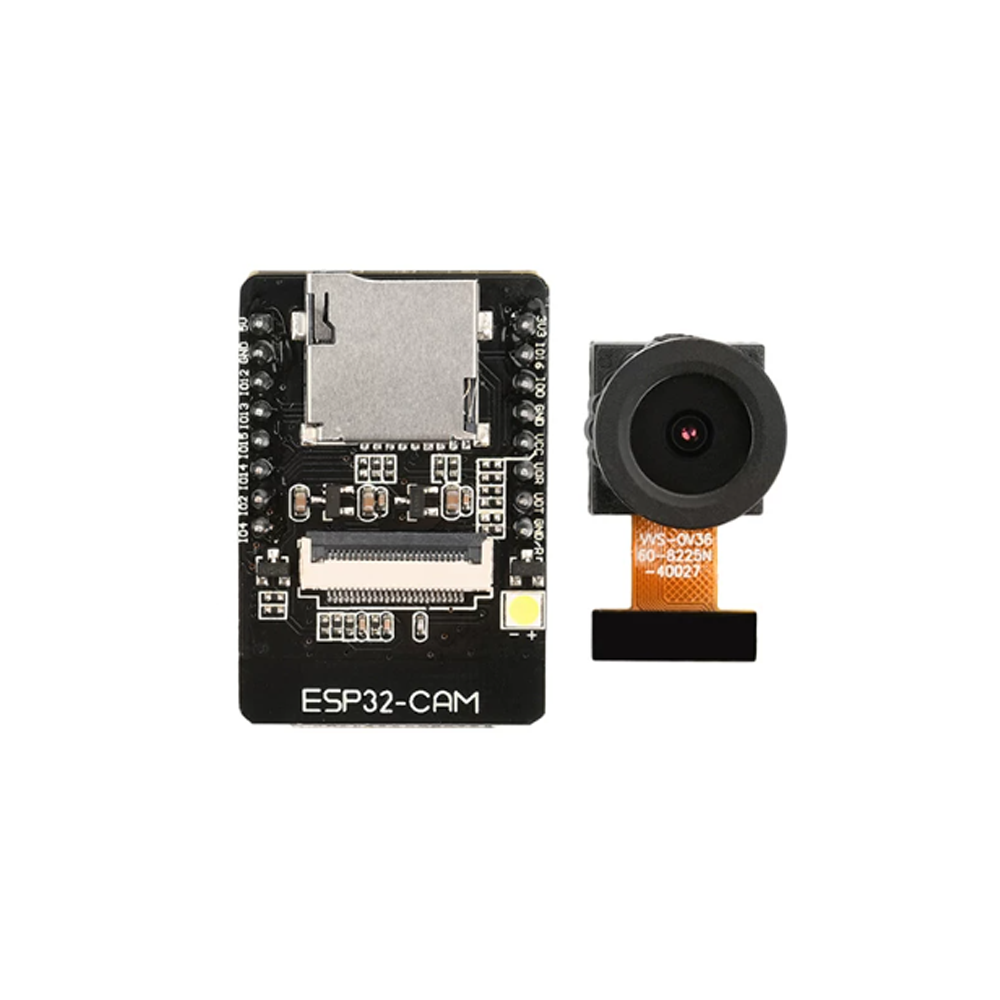
The ESP32-CAM [2M] with Original OV3660 Camera is a compact, high-performance development board that combines the powerful ESP32-S dual-core microcontroller with a 3-megapixel OV3660 camera sensor, creating a complete standalone camera solution for IoT, surveillance, and embedded vision applications. Measuring just 27 × 40.5 × 4.5 mm, it is one of the smallest fully functional camera development boards available, making it ideal for space-constrained projects.

At its core, the board is built around the ESP32-S chip, featuring a dual-core 32-bit LX6 microprocessor running at up to 240 MHz, with 520 KB SRAM and 4 MB PSRAM (on certain variants) for image buffering and processing. It supports Wi-Fi 802.11 b/g/n and Bluetooth v4.2 BR/EDR + BLE, enabling wireless image transmission, remote monitoring, and integration with IoT platforms.

The board features an original OV3660 camera sensor capable of capturing images at up to 2048 × 1536 (3MP) resolution. The OV3660 uses OmniBSI backside illumination technology, providing superior low-light sensitivity compared to standard sensors. It supports hardware JPEG compression, which significantly reduces bandwidth requirements for streaming and storage. The camera connects via a 24-pin DVP interface and supports multiple output formats including JPEG, BMP, and Grayscale.

A MicroSD card slot supports up to 32 GB cards (FAT32 format), allowing you to store captured images, video recordings, and logged data locally without requiring an external storage module. The board also includes an onboard flash LED for low-light illumination, an onboard red LED for status indication, and a reset button for easy operation.

The board exposes 16 GPIO pins for external connections, including UART, SPI, I2C, and PWM interfaces. It can be programmed via an FTDI programmer or an ESP32-CAM-MB shield (sold separately), as it does not include a built-in USB-to-serial converter.

Supported development environments include Arduino IDE and ESP-IDF, with extensive community libraries including the esp32-camera library for rapid camera project development. The OV3660 is a drop-in upgrade for designs originally using the OV2640, sharing the same 24-pin DVP connector and SCCB control interface.

Whether you are a beginner exploring IoT camera projects, a hobbyist building a home monitoring system, or a business purchasing in bulk for product development, the ESP32-CAM with OV3660 offers a practical, high-resolution foundation for embedded vision applications. It is suitable for individual makers, students, and businesses alike.


Features

  • ESP32-S dual-core processor — 32-bit LX6 at up to 240 MHz, with 520 KB SRAM and 4 MB PSRAM (variant dependent)

  • Original OV3660 3MP camera — Captures images up to 2048 × 1536 with OmniBSI low-light technology and hardware JPEG compression

  • Superior low-light performance — OmniBSI backside illumination provides better sensitivity than standard sensors

  • MicroSD card slot — Supports up to 32 GB FAT32 cards for local image and video storage

  • Wi-Fi & Bluetooth connectivity — 802.11 b/g/n and Bluetooth v4.2 BR/EDR + BLE for wireless transmission

  • Onboard flash LED — Provides illumination for low-light image capture

  • 16 GPIO pins — Exposed for UART, SPI, I2C, PWM, and external peripherals

  • Compact form factor — 27 × 40.5 × 4.5 mm, ideal for space-constrained projects

  • Drop-in OV2640 upgrade — Same 24-pin DVP connector and SCCB interface as OV2640 designs

  • Wide development support — Arduino IDE and ESP-IDF compatible, with esp32-camera library


Technical Specifications 

# Parameter Specification
1 Microcontroller ESP32-S, dual-core 32-bit LX6, up to 240 MHz
2 Camera Sensor Original OV3660, 3MP (2048 × 1536)
3 Memory 520 KB SRAM + 4 MB PSRAM (variant dependent)
4 Storage MicroSD card slot, up to 32 GB (FAT32)
5 Wireless Wi-Fi 802.11 b/g/n, Bluetooth v4.2 BR/EDR + BLE
6 Power Supply 5V via pins; 3.3V logic
7 GPIO Count 16 pins exposed
8 Dimensions 27 × 40.5 × 4.5 mm

Usage

Getting Started

  1. Connect a programmer — The ESP32-CAM does not include a USB-to-serial chip. Use an FTDI programmer or an ESP32-CAM-MB shield connected to the board’s UART pins (TX, RX, GND, 5V).

  2. Enter programming mode — Connect GPIO0 to GND to enter download mode. Press the reset button after connecting the programmer.

  3. Install board support — In Arduino IDE, install the ESP32 board package via Boards Manager. Select “AI Thinker ESP32-CAM” as the board type.

  4. Install the camera library — Install the esp32-camera library through the Library Manager.

  5. Upload the CameraWebServer example — Configure your Wi-Fi credentials and upload the sketch. The board will create a web server for live video streaming.

  6. Access the stream — Open the Serial Monitor to find the IP address, then access the stream through a web browser.

Important Configuration Notes

  • PSRAM — For higher resolutions and JPEG streaming, PSRAM is required. Set PSRAM to “Enabled” in the Arduino IDE Tools menu.

  • Power supply — The board requires a stable 5V supply capable of at least 500 mA. Insufficient power is a common cause of boot loops and camera failures.

  • GPIO0 — Must be connected to GND for programming. Disconnect after upload to run the program.

  • OV3660 initialization — When using the OV3660, the standard initialization may need adjustments: s->set_vflip(s, 1), s->set_brightness(s, 1), and s->set_saturation(s, -2) are commonly applied to correct orientation and color balance.

Typical Applications

  • Smart doorbells — High-resolution video capture with Wi-Fi streaming

  • Wireless surveillance — Remote monitoring with superior low-light performance

  • Time-lapse photography — Scheduled image capture for environmental monitoring

  • AI vision prototyping — Image capture for TensorFlow Lite and Edge Impulse projects

  • IoT camera nodes — Battery or USB-powered camera devices for remote deployment

  • Educational projects — Learning embedded vision and IoT camera concepts

Notes for Business Buyers

  • High-resolution camera solution — 3MP OV3660 provides better image quality than standard 2MP cameras.

  • Low-light advantage — OmniBSI technology improves performance in dim environments.

  • Proven platform — ESP32-CAM is widely documented with extensive community support.

  • Suitable for bulk purchasing — Ideal for product development, IoT integration, and educational programs.

Q: What is the ESP32-CAM [2M] with OV3660 used for?

It is a compact development board for IoT camera applications including smart doorbells, wireless surveillance, time-lapse photography, and AI vision prototyping, with higher resolution than standard OV2640 versions.

Q: What is the difference between this board and the OV2640 version?

This version uses the OV3660 camera sensor with 3MP resolution (2048 × 1536) and OmniBSI backside illumination for better low-light performance. The OV2640 version offers 2MP resolution.

Q: Does this board include a USB connector?

No. The ESP32-CAM does not have a built-in USB-to-serial chip. You need an FTDI programmer or ESP32-CAM-MB shield to program it.

Q: Can I use the OV3660 with existing OV2640 code?

Yes. The OV3660 is a drop-in upgrade for OV2640 designs, sharing the same 24-pin DVP connector and SCCB interface. Some initialization adjustments may be needed for optimal image quality.

Q: What is the maximum resolution and frame rate?

The OV3660 supports up to 2048 × 1536 (3MP) for still images and 720p video at 30fps.

Q: What is the maximum MicroSD card size supported?

The MicroSD card slot supports cards up to 32 GB in FAT32 format.

Q: How do I enter programming mode?

Connect GPIO0 to GND before powering the board. After uploading your sketch, disconnect GPIO0 from GND and press reset to run the program.

Q: Why does my ESP32-CAM fail to boot or upload?

The most common cause is insufficient power supply. The board requires a stable 5V supply capable of at least 500 mA. Use a dedicated power supply rather than powering from a weak USB port.

Q: Is PSRAM required for camera operation?

Yes. For higher resolutions and JPEG streaming, PSRAM is required. Ensure PSRAM is enabled in your Arduino IDE board settings.

Q: Can I purchase in bulk for a product development project?

Yes. The ESP32-CAM with OV3660 is suitable for both individual users and business purchasing. Its high-resolution camera and integrated features make it practical for IoT product development and volume deployment.